Diary of a
Daydreamer

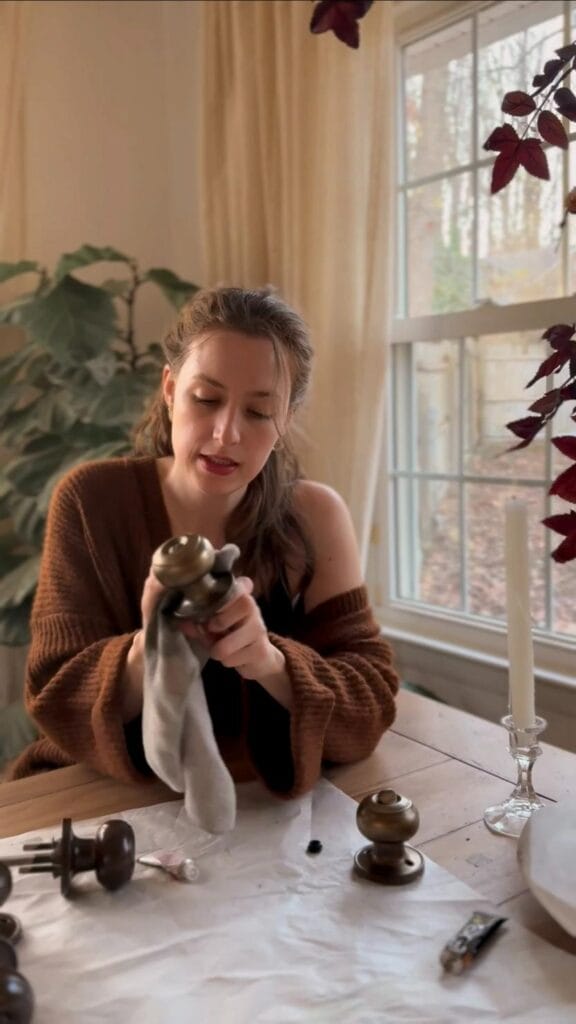
Easy DIY Aged Brass hardware
Transform your old door Knobs (or any object) into an elegant brass finish with this budget friendly DIY
Skip to the tutorial
Shop the supply List
Why so expensive?!
If you have stumbled across this post then you have probably been on the same emotional journey as me, searching for antique brass hardware and realizing that they’re SO pricey! For those of us without unlimited budgets, sometimes we have to get a little creative to achieve the look we want. Don’t worry, with a little DIY magic we can get the same style for a fraction of the price!
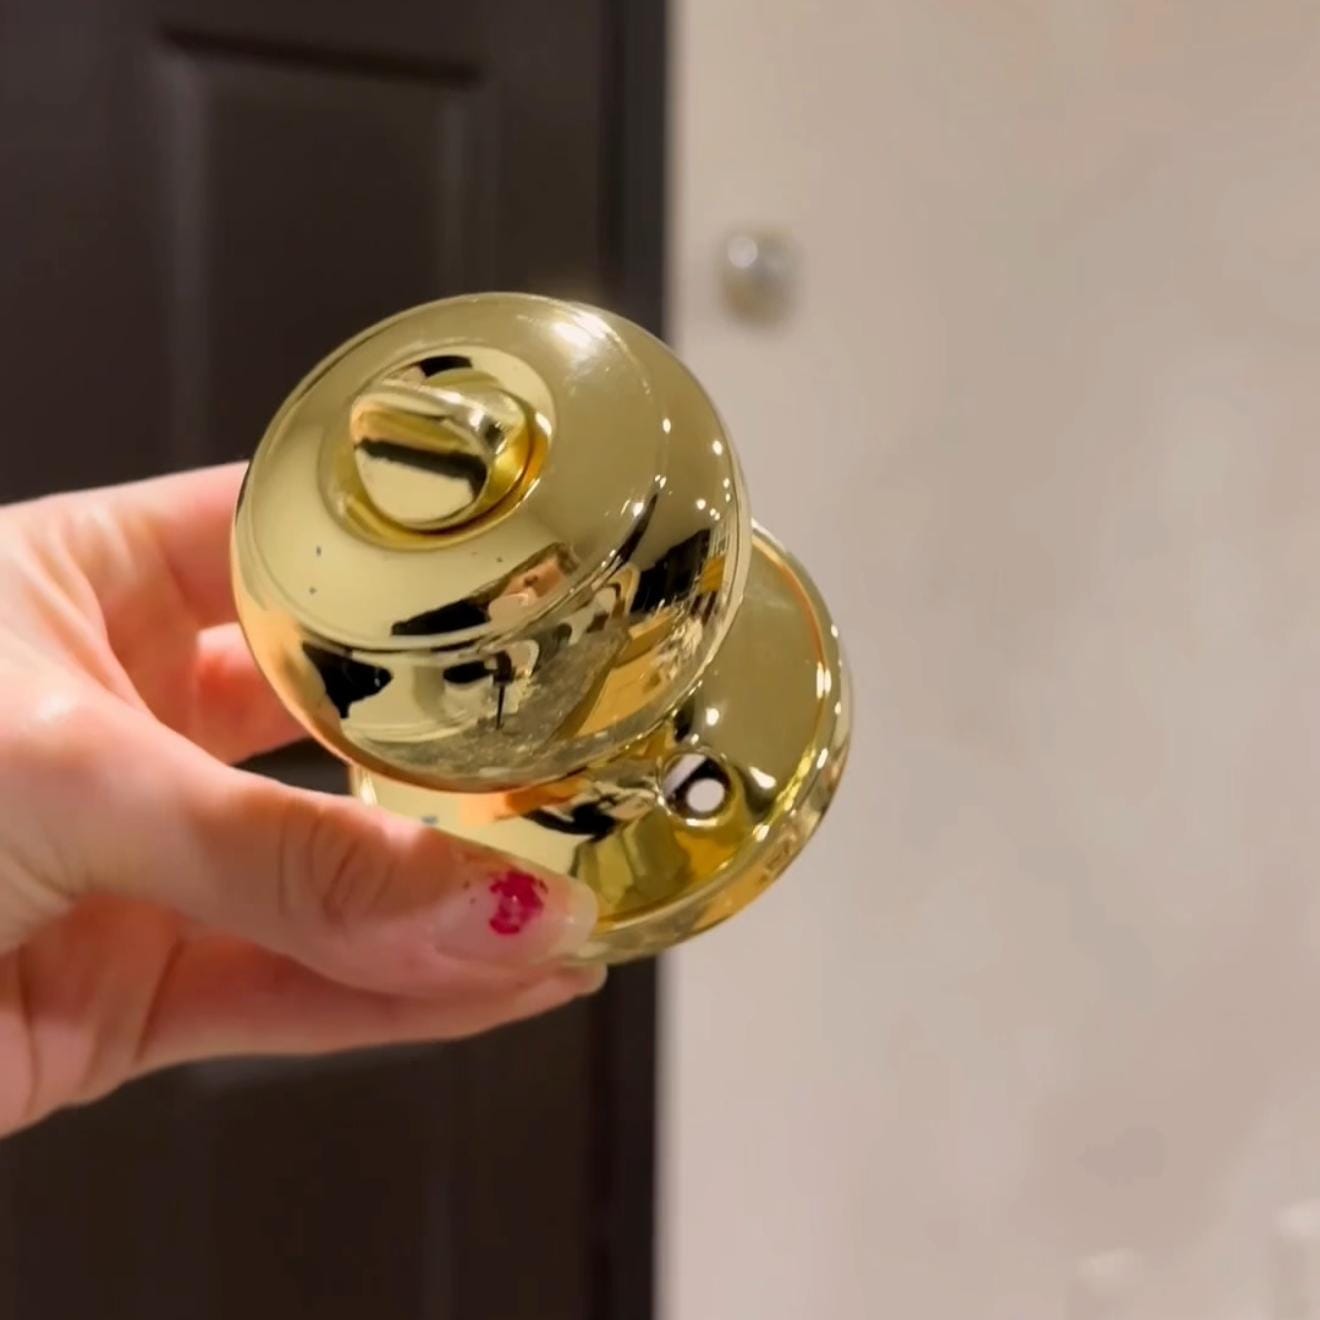
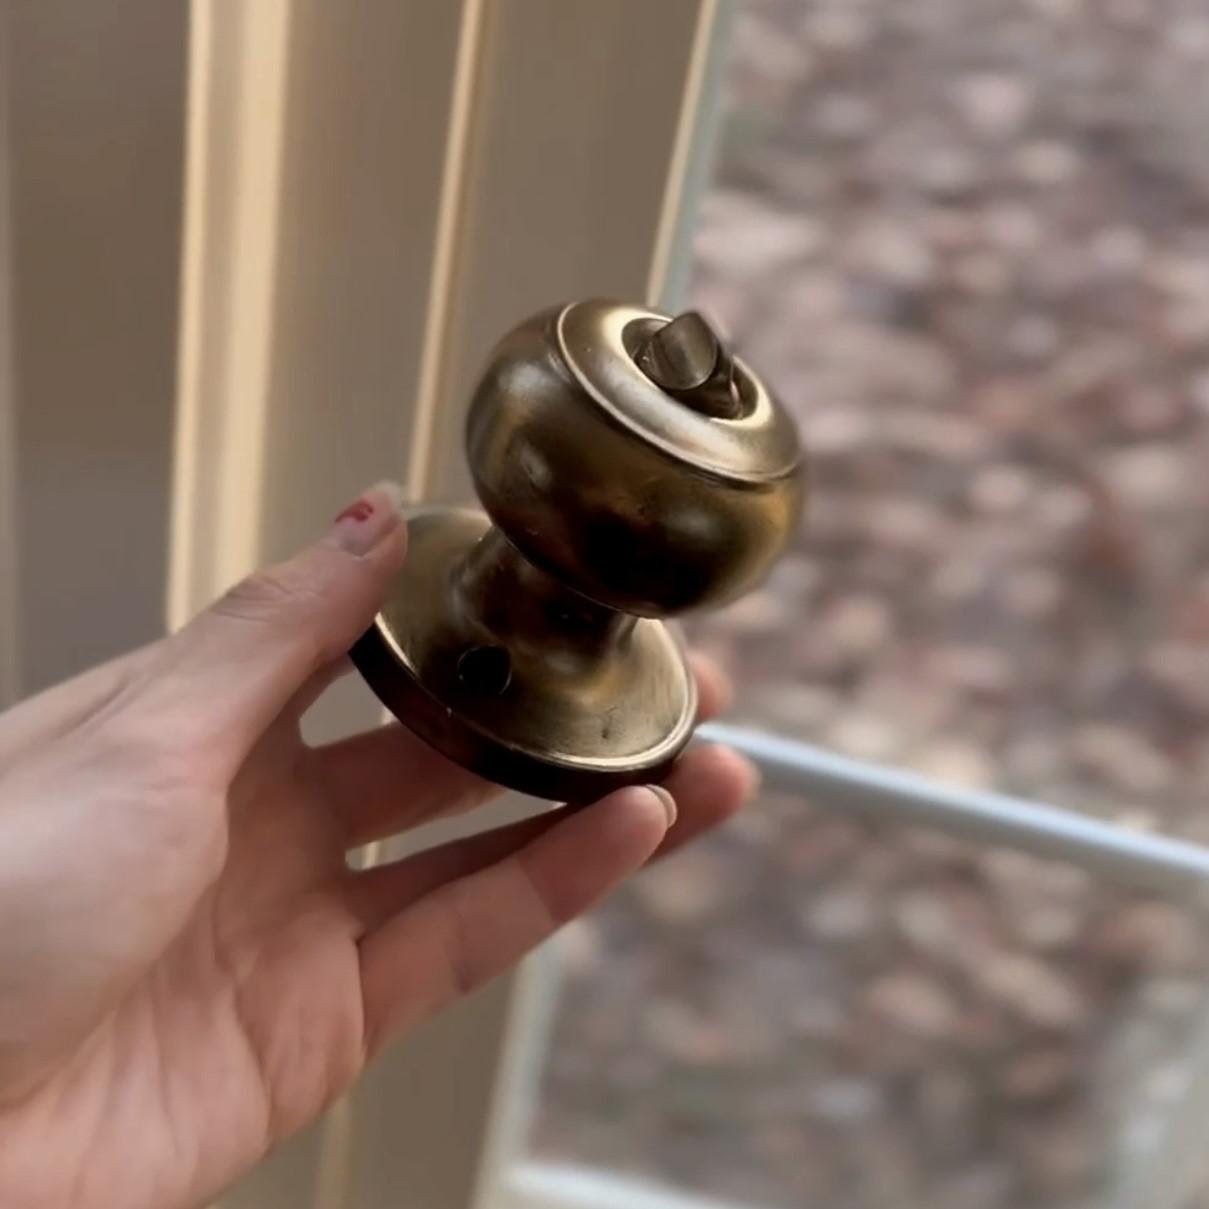
A good place to start
I started out purchasing some cheap doorknobs focusing on the shape and style, not the color because we are going to change that. If you already like the shape of your original hardware, great! You have a head start!
Side note: Although this is an “aged brass” finish, you can use this on any style hardware. Don’t be afraid to try it even if your current style is more modern. It will still look beautiful, I’m sure!
Prep work is important
In any DIY project the prep work is usually the most important stage, and this project is no different! Door knobs are one of those household objects that are frequently used so they need to be able to withstand heavy handling. The key to making any product “stick” is a good primer, suited for the material you are priming, in this case; metal. You want to cover the entire outer surface of the hardware in your primer. Use thin layers and always spray when moving to avoid drips. This might take a few coats so follow the directions on the back of the can to see how long your primer needs to dry before it can be recoated.

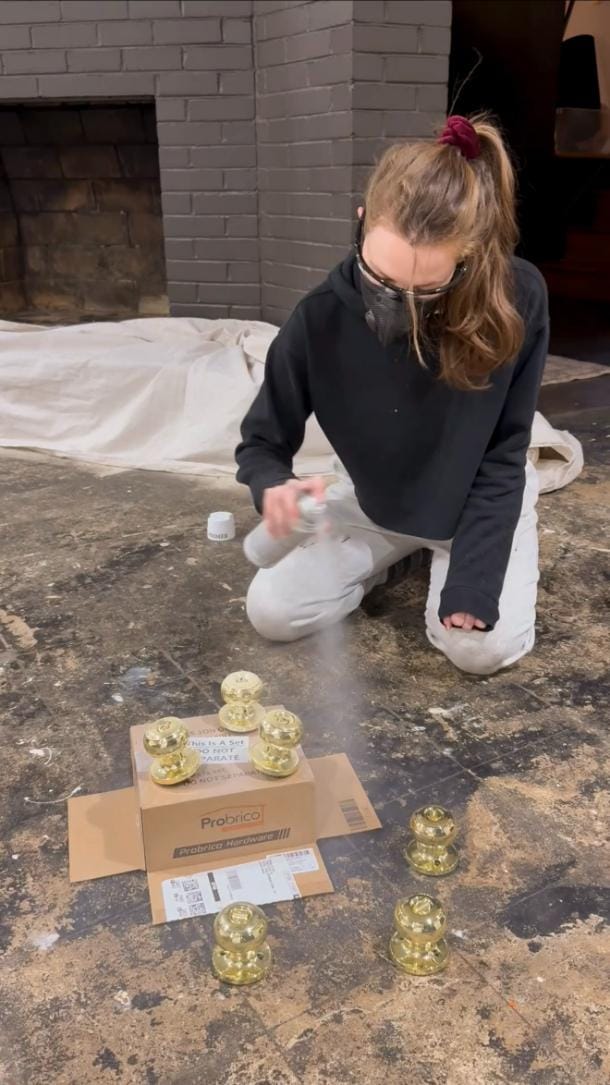
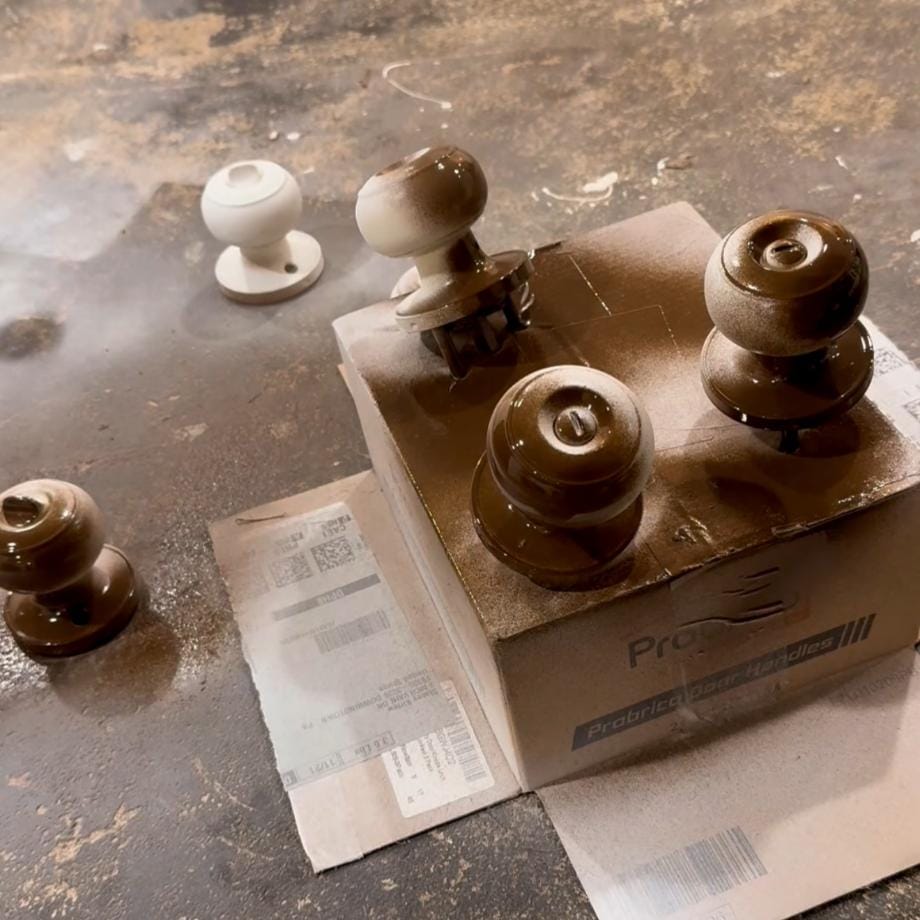
The base color
You want to think about what style of metal look you’re aiming for because this is going to dictate what base color you use.
A brown base will create a warmer, richer tone making the final finish appear more like worn brass or copper.
A black base will create a darker, more moody finish, especially around the edges or in crevices, as it gives a stronger contrast against the metallic wax creating a shadow-like effect. This results in a more antique, weathered appearance, however black often has blue or green undertones which will alter the final color of your hardware.
Since I wanted to make sure my doorknobs were more brass than gold, I opted for a brown basecoat. Using the same application as the primer, cover the entire surface in your color of choice.
The buffing process is the most important part of using these wax products and oddly, the most overlooked. If you have used Rub 'n' Buff before and were disappointed with the finish, did you remember to buff?
Let's get metallic!
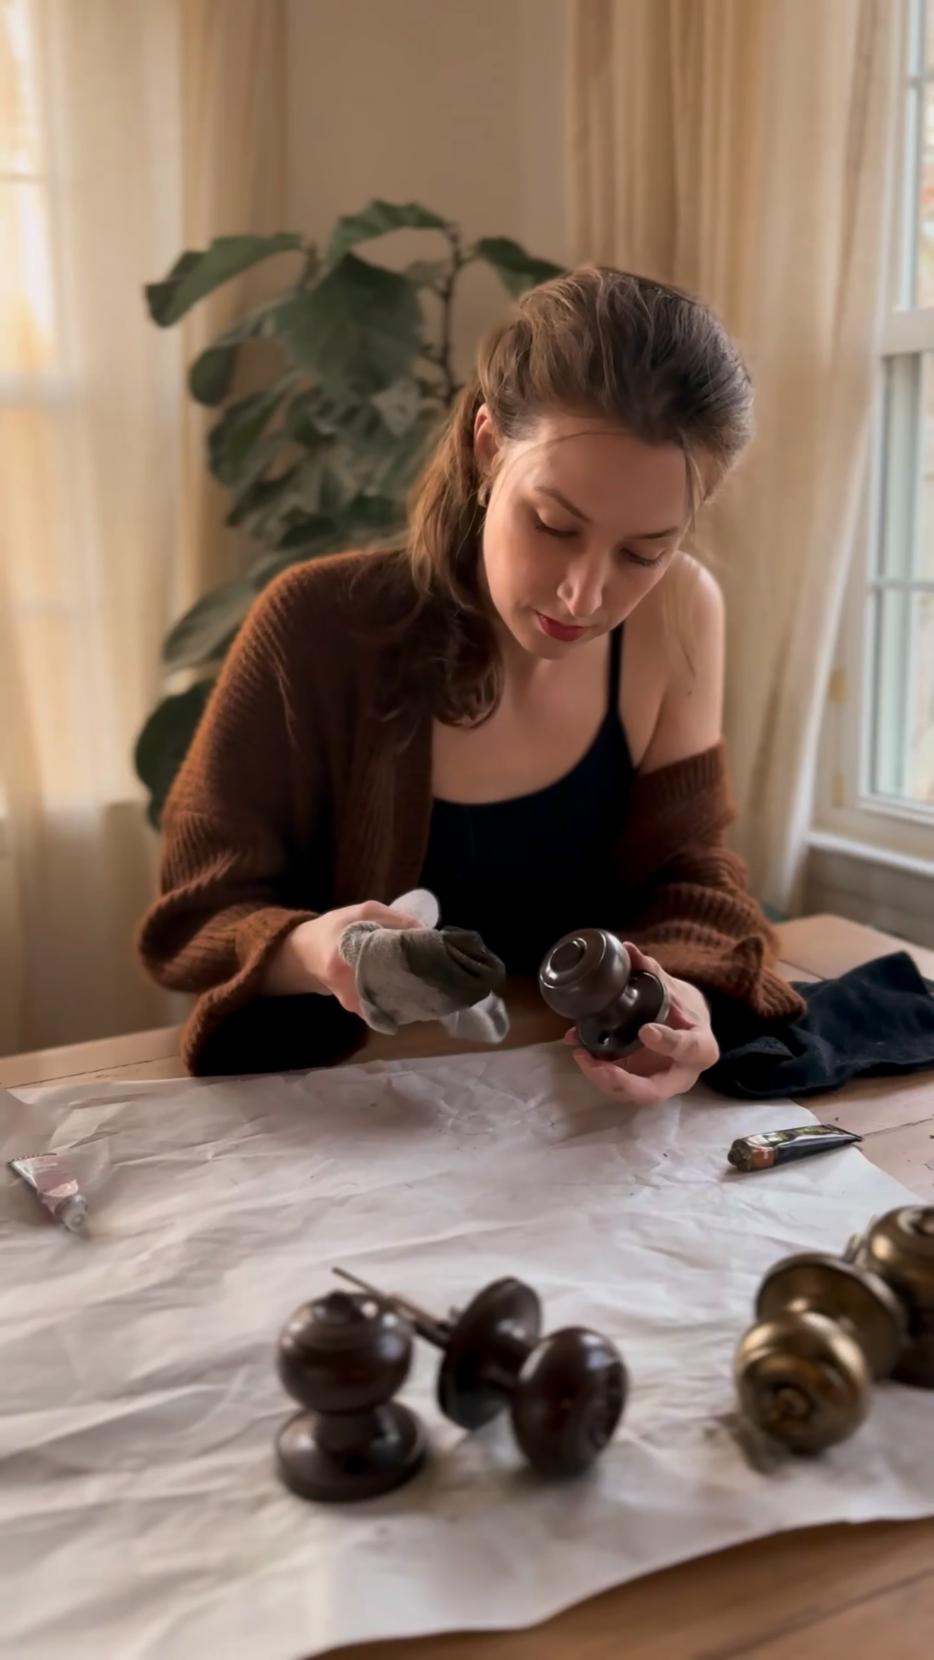
Once your hardware has dried completely – and I mean completely, the next step will involve some vigorous rubbing – you can go in with your metal wax of choice. I’m usually a Rub ‘n’ Buff girl but I recently found AK’s line of waxes and fell in LOVE with the shine they produce. You can’t go wrong either way!
Grab an old rag that you don’t mind getting dirty and wrap it securely around your fingers so that there is a nice flat surface for you to work with. Apply a tiny, tinyyyy bit of wax to the cloth and begin to work it into the hardware, spreading it as far as it will go. Apply it sparingly. Allowing some of the base coat to shine through will give that patinaed look we are after. You can always layer on more product if you decide you want a more solid appearance.
I like to do my hardware in two sections to make sure I Have enough time to buff everything out before the wax is completely dry.
Buff it up!
The buffing process is the most important part of using these wax products and oddly, the most overlooked. If you have used Rub ‘n’ Buff before and were disappointed with the finish, did you remember to buff?
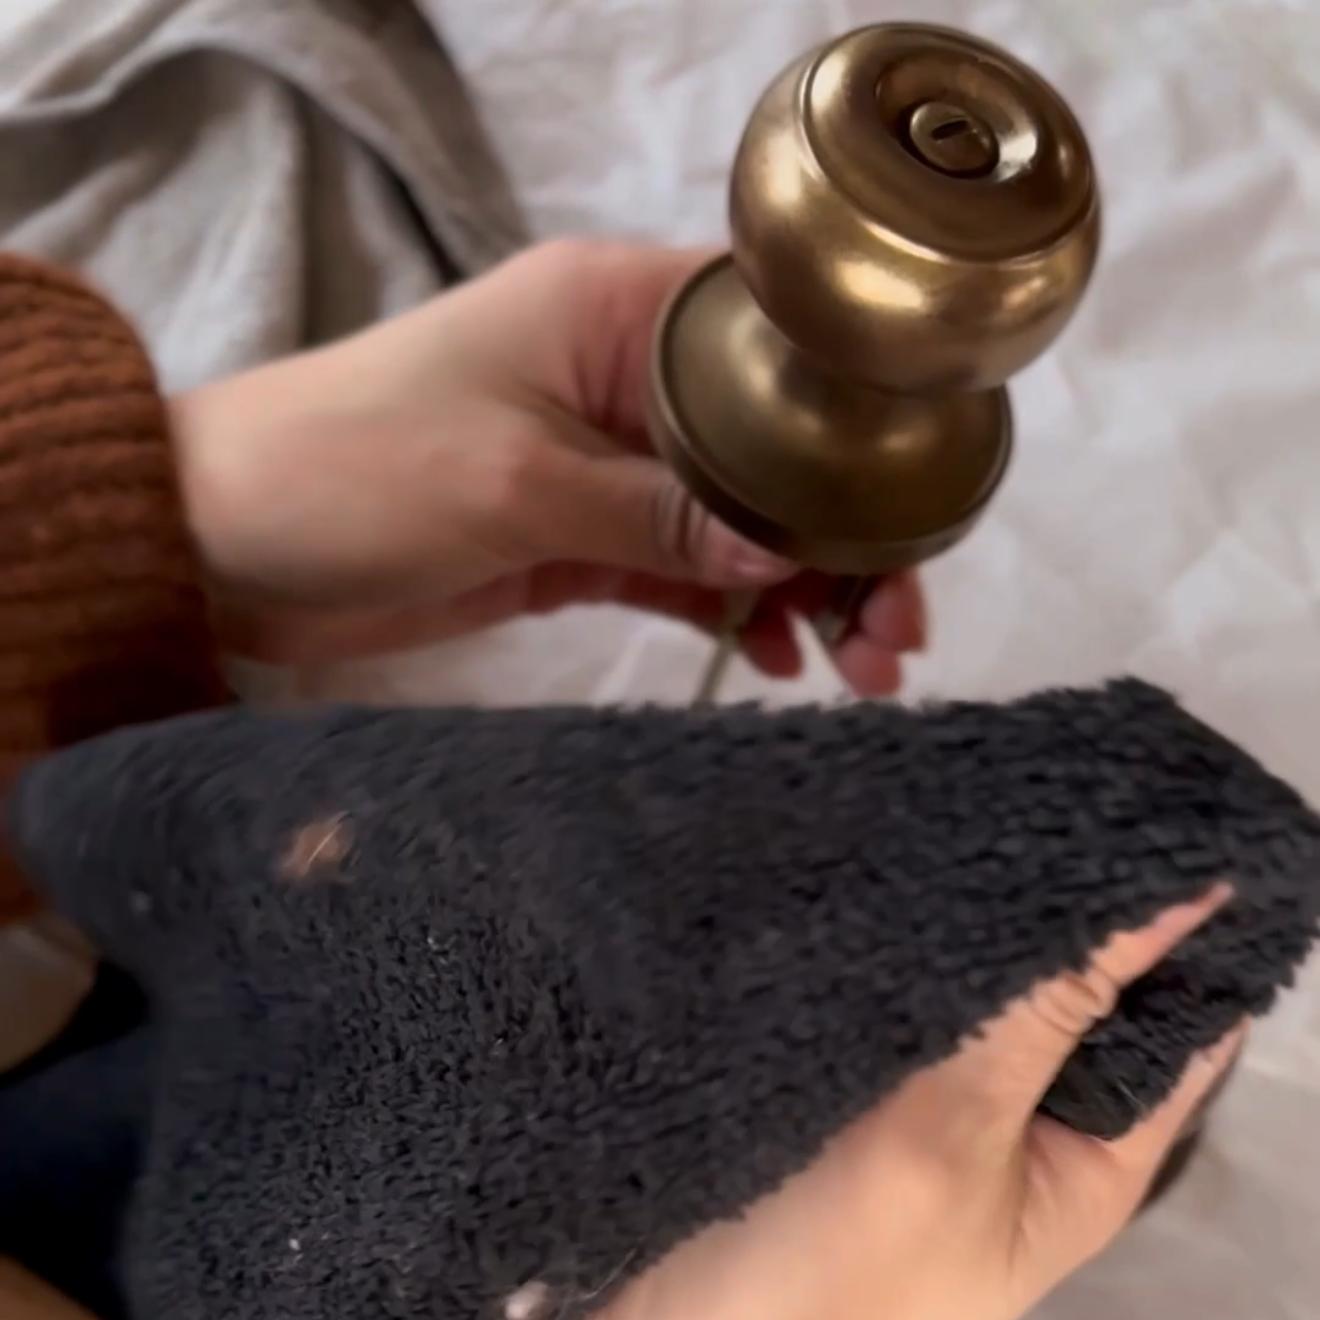
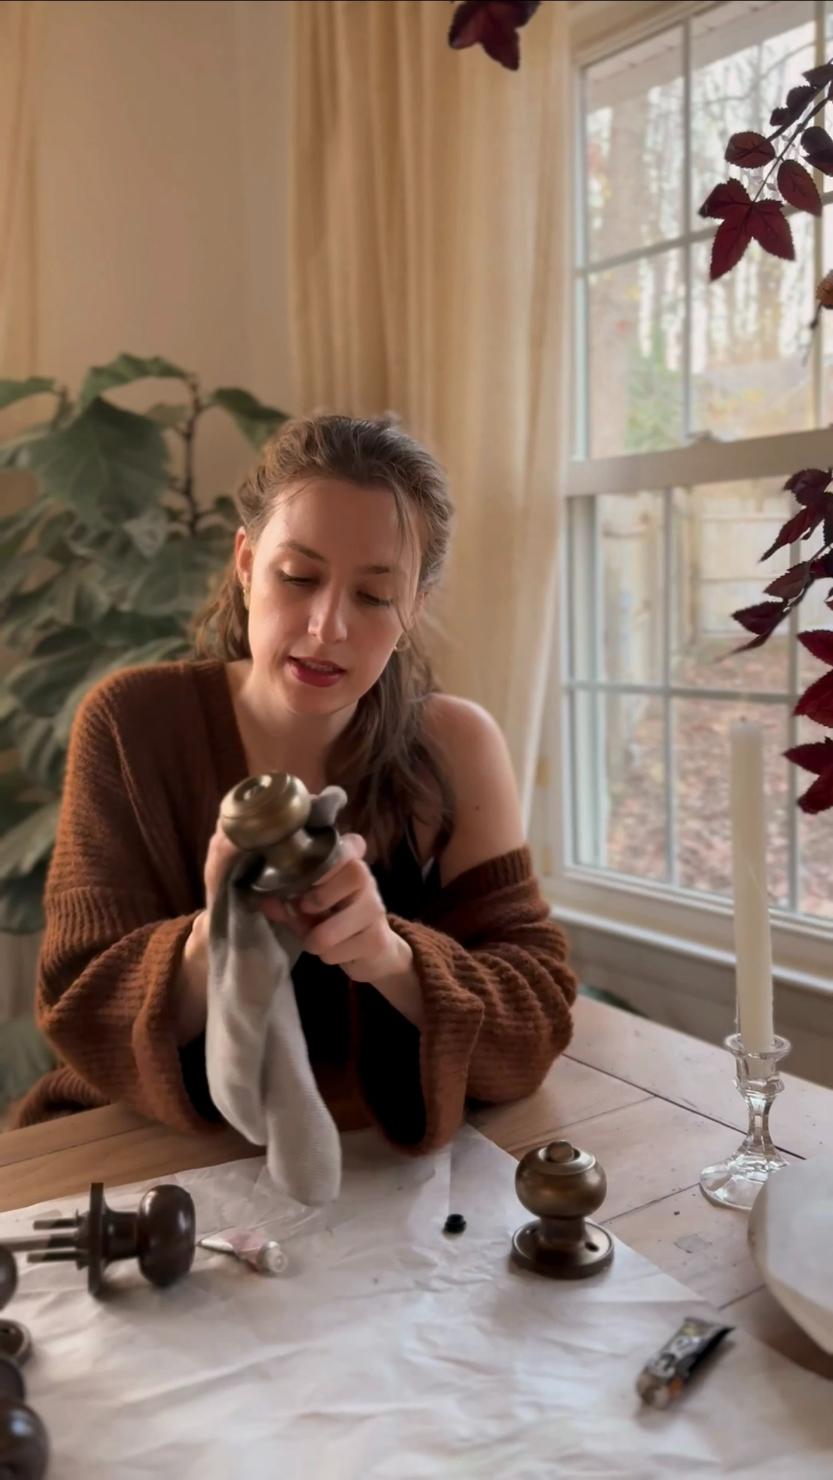
You might be wondering what the big deal is, so let me explain. When you buff the wax into the object you are refinishing, it creates a shine (remember why I said I love AK products so much?), the shininess is what make the object resemble true metal and not just gold paint.
The buffing process is super simple. Grab a clean cloth, I like to use these super soft microfibers, and rub quickly but gently over the surface. Keep rubbing until you get a sufficient amount of shine that you are happy with. If you wait too long to buff, you will still create shine but not as much as if you were to buff straight after the application process.
The buffing action also helps ‘seal’ in the product enhancing its durability. This is important because you can’t use traditional topcoats over wax products like you can over metallic spray paint.
Final Thoughts
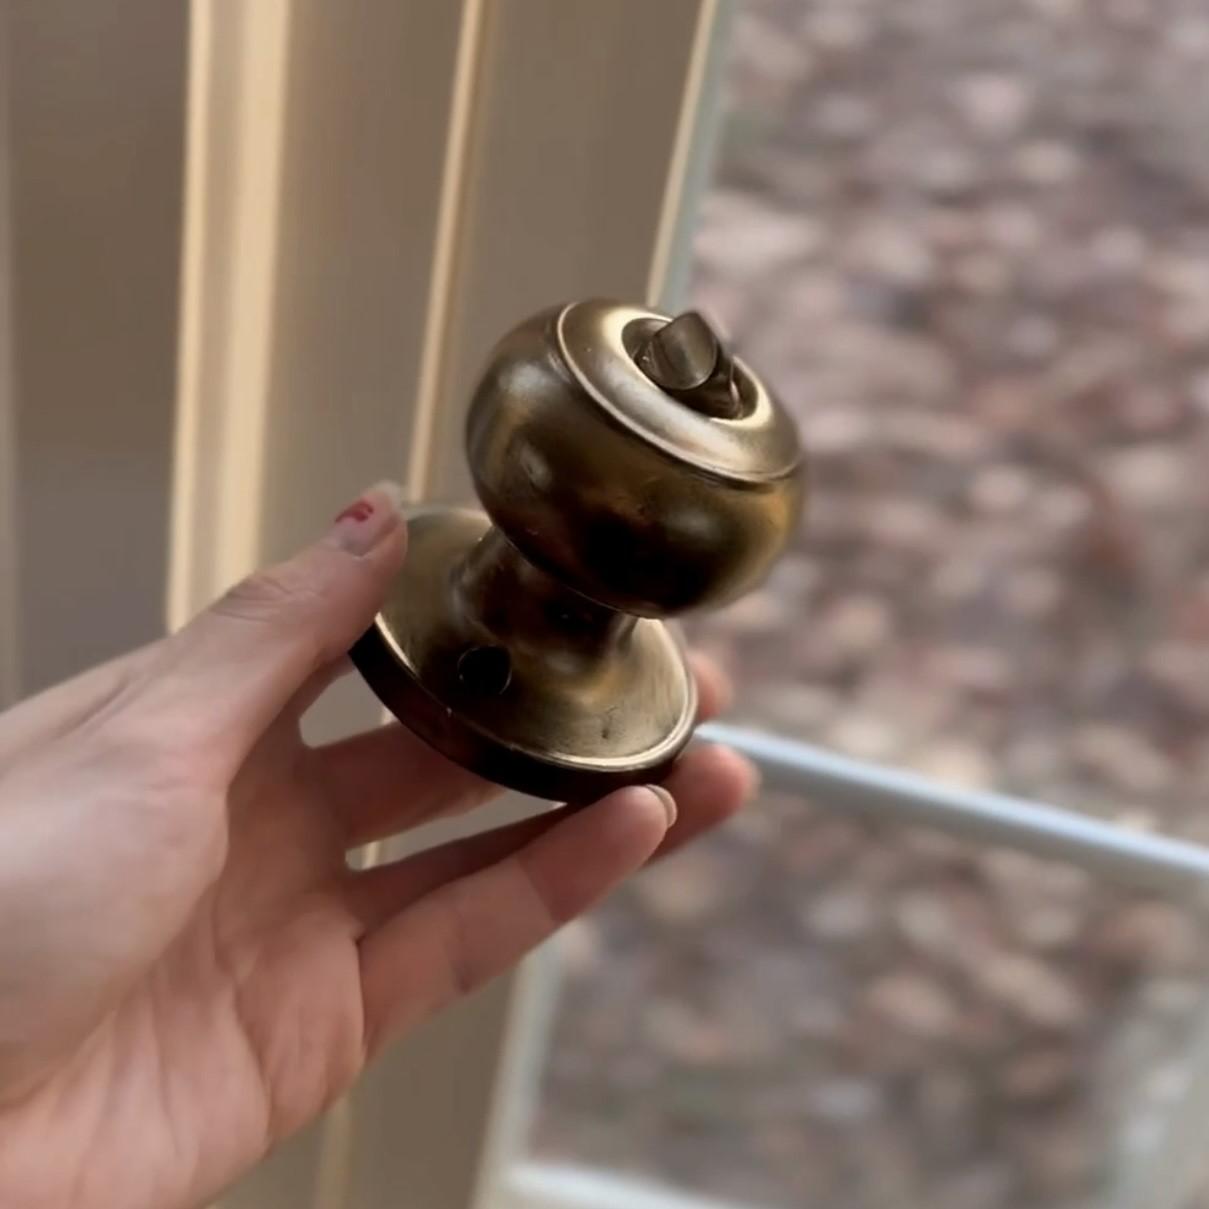
Re-install your hardware and you’re done! I told you it was easy!
What are your thoughts on this DIY door knob transformation? Are you going to try it yourself? Did you know know these metallic waxes come in shades to suit every style of home; silver, gold, brass, copper etc?
If you do try this DIY, let me know how it went in the comments section below and if you want to be notified whenever more content like this is posted, I would love for you to subscribe.
Thank you for reading,
Stacey
Dawn of a Daydream
There are so may more fun projects on the way! If you’d like to be the first to see more exciting DIY renovations, easy home updates, budget friendly crafts and a few creative surprises, I’d love for you to join the fun by clicking the box below!
Solid wood doors cost thousands, but this faux wood makeover gave me the same look on a budget! 😍✨ This…
Creativity was never meant to be perfected. It was meant to be enjoyed. 🥹✨ Today, I came across the most…
Wait until you see how EASY these “glass” ornaments actually are… 🤯✨ Today’s tutorial shows you exactly how to make…
Kid-approved, stress-free, and completely customizable ✨ These amber ornaments look just like expensive blown glass and they’re ridiculously easy to…
Latest Posts
- All Posts
- Dining Room
- DIY Comfort Club
- DIY Projects
- Entryway
- Family Room
- Furniture Flips
- Garden Beds
- General
- Guest Bedroom
- Home Exterior
- Outdoor Projects
- Pool Area

Solid wood doors cost thousands, but this faux wood makeover gave me the same look on a budget! 😍✨ This…
Latest Posts
- All Posts
- Dining Room
- DIY Comfort Club
- DIY Projects
- Entryway
- Family Room
- Furniture Flips
- Garden Beds
- General
- Guest Bedroom
- Home Exterior
- Outdoor Projects
- Pool Area

