THE
FAMILY ROOM
About the space
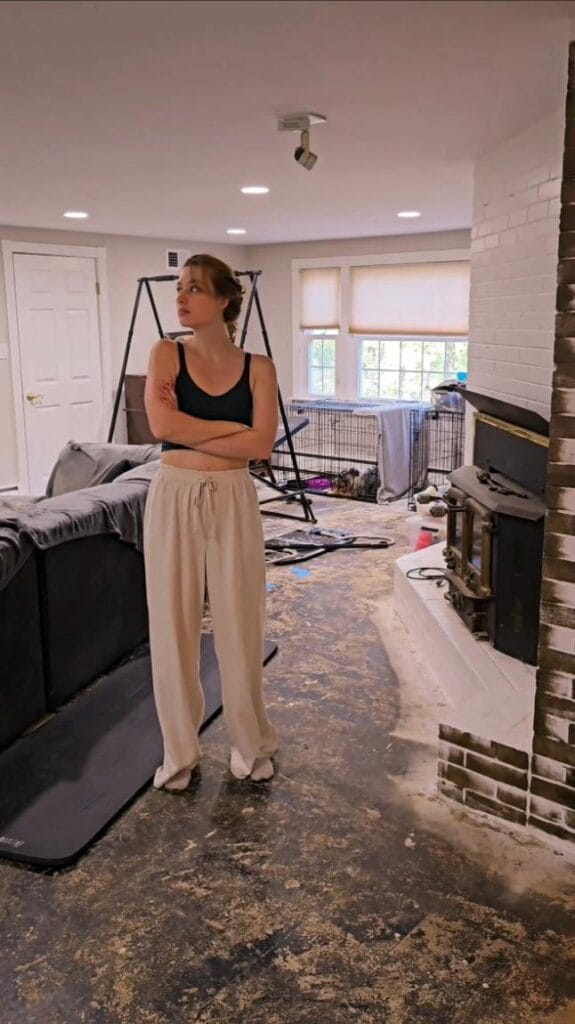
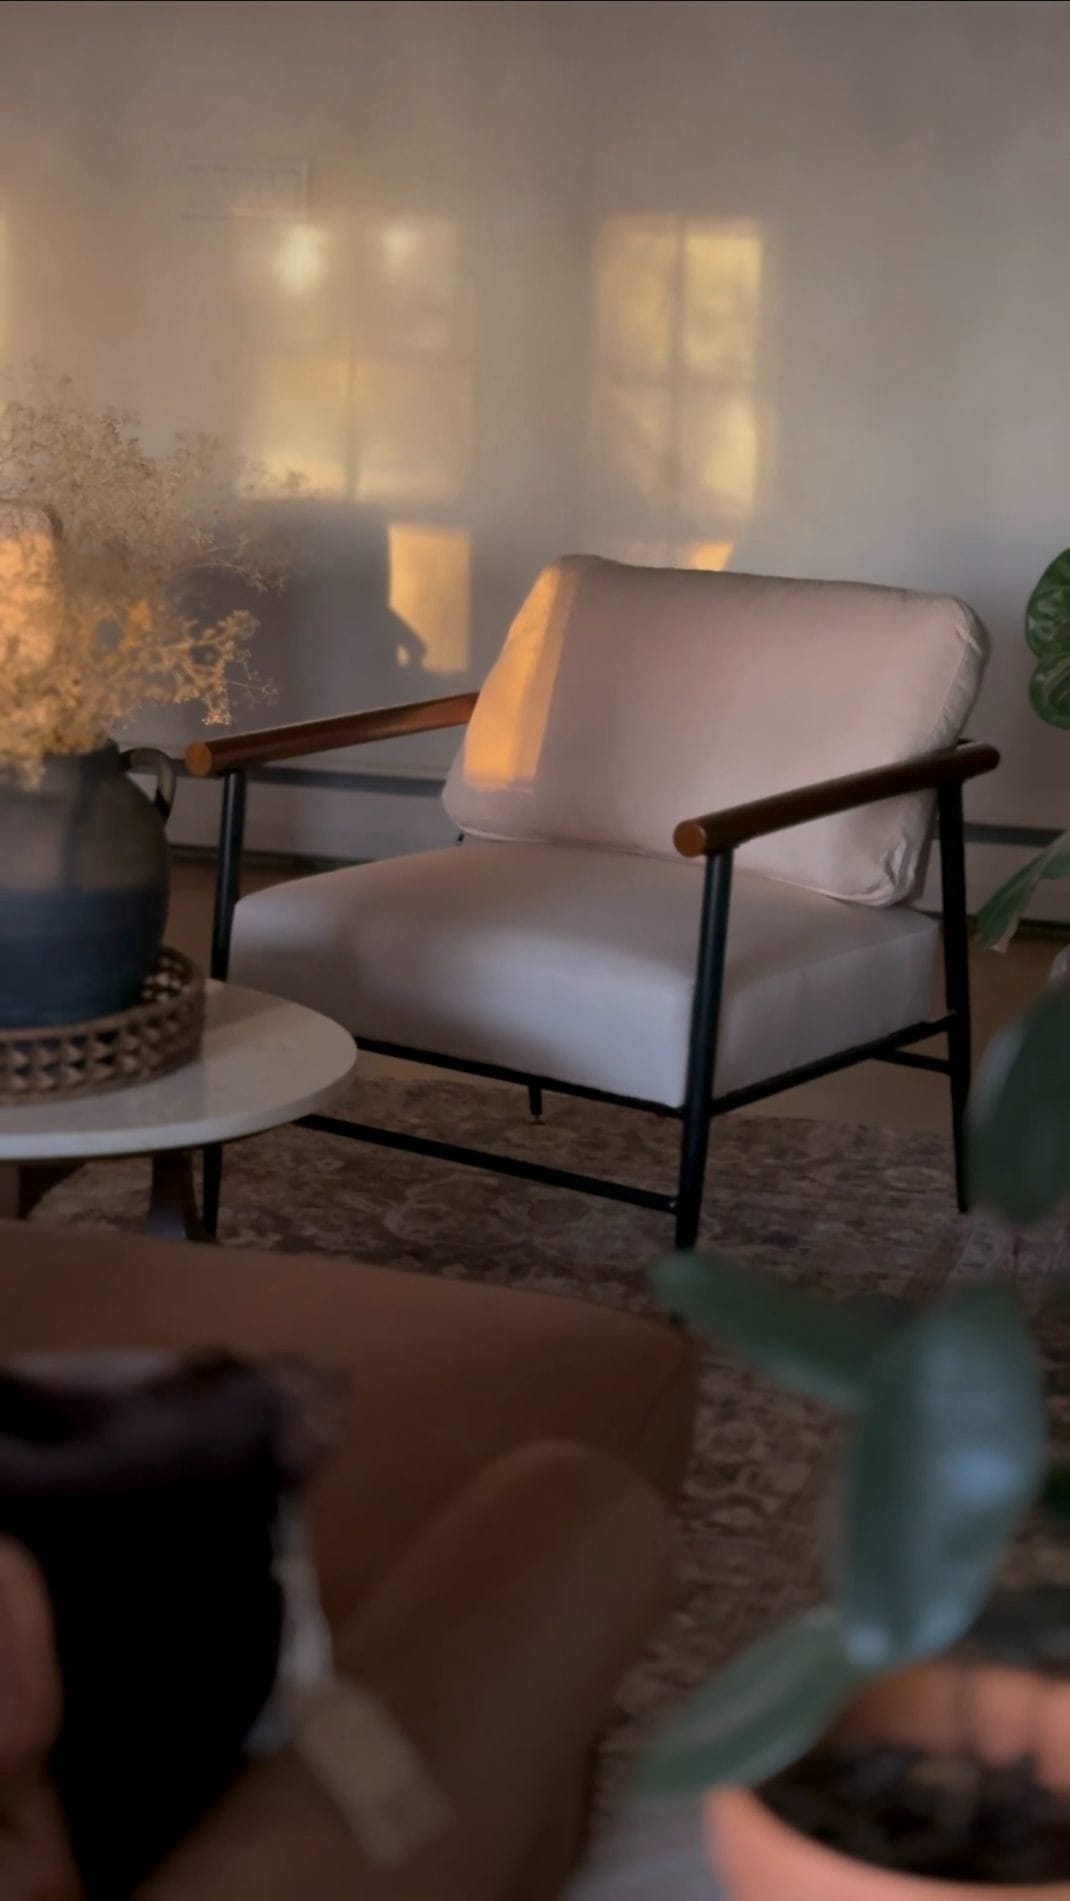
The family room started out as a huge awkward space with a large asymmetrical wall running though the center. Designing a functional space for such an oddly shaped room was quite the challenge but once I figured out my layout, this once barren space became the coziest room in the house. I decided to embrace the odd angles and painted them in a contrasting color to make them feel more intentional.
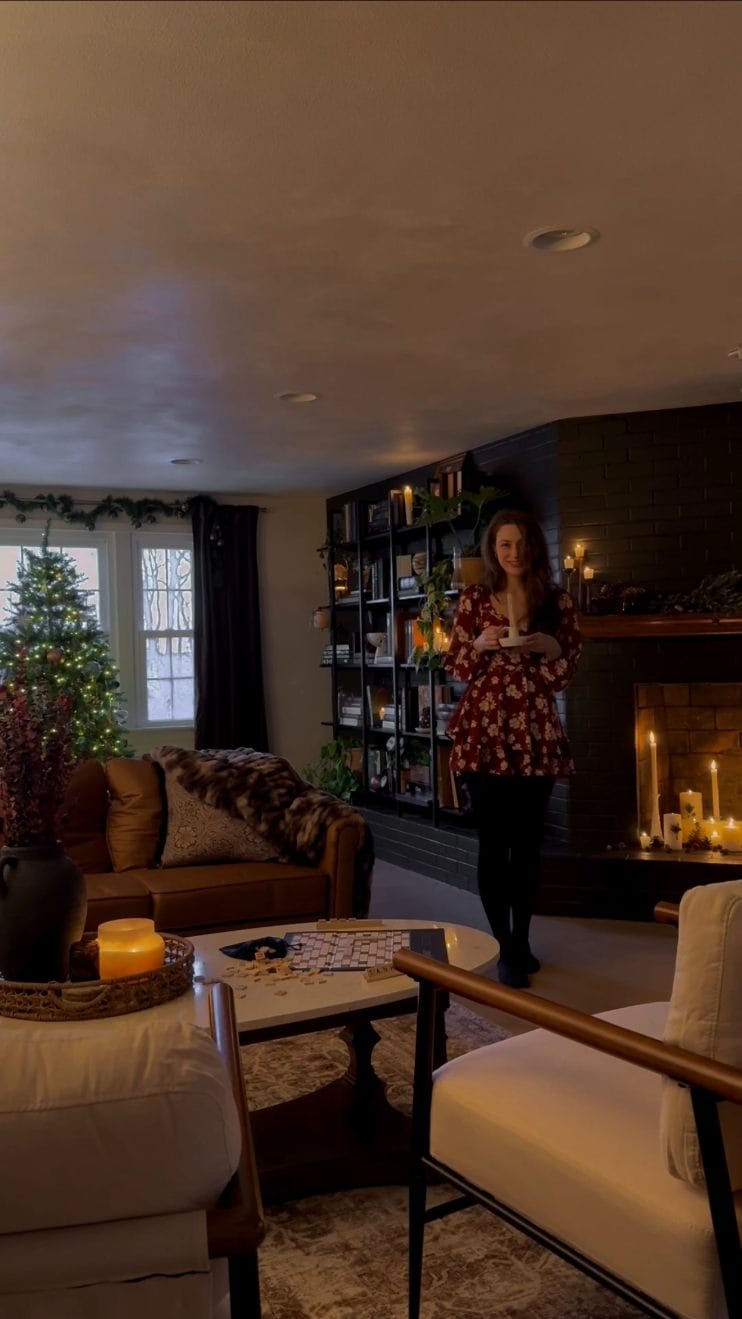
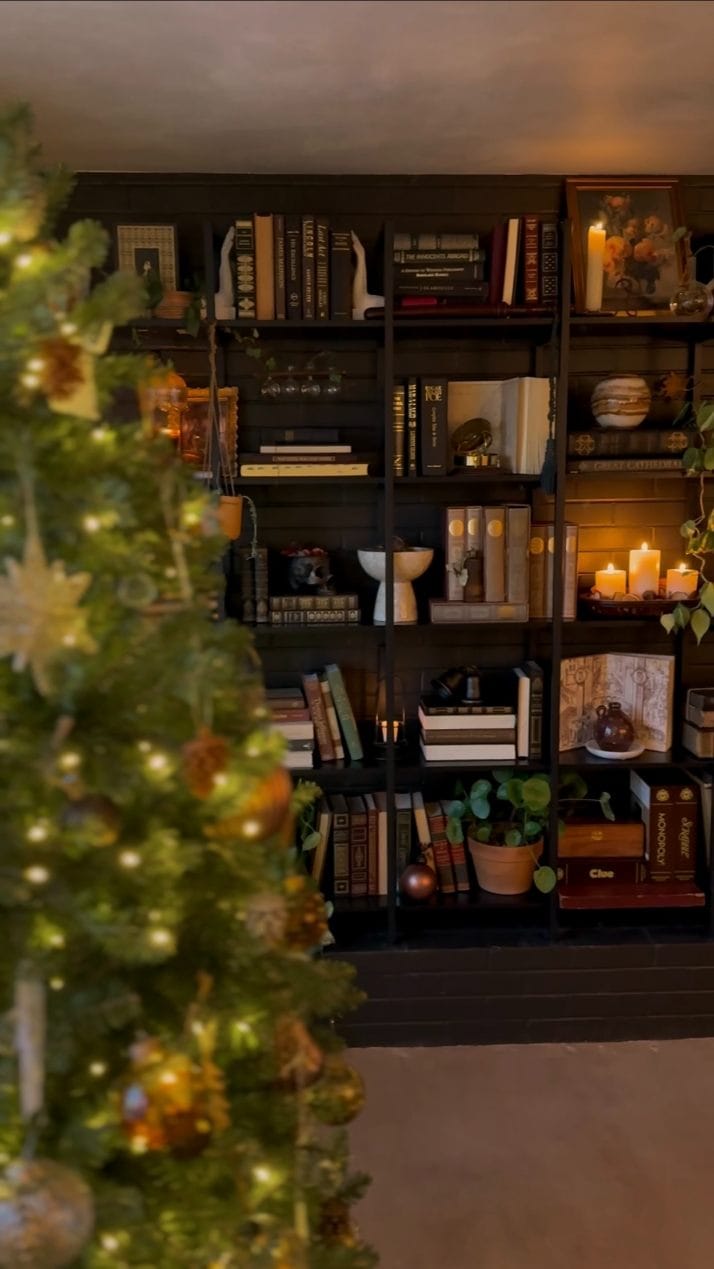
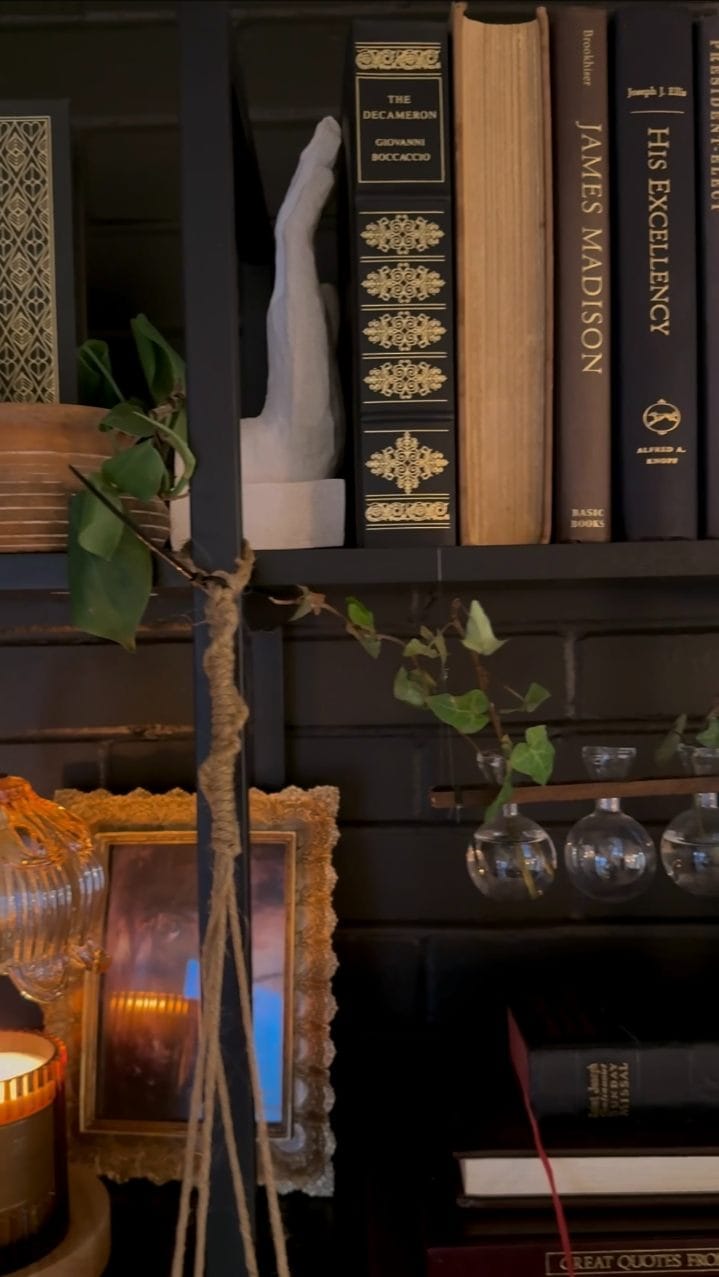
By far my favorite feature of the whole room is the large shelf I installed against the brickwork. Something about this shelf brought out my inner maximalist and I had so much fun styling every inch of this thing! I decided to opt for a black unit to blend into the wall and really let the decor take center stage.
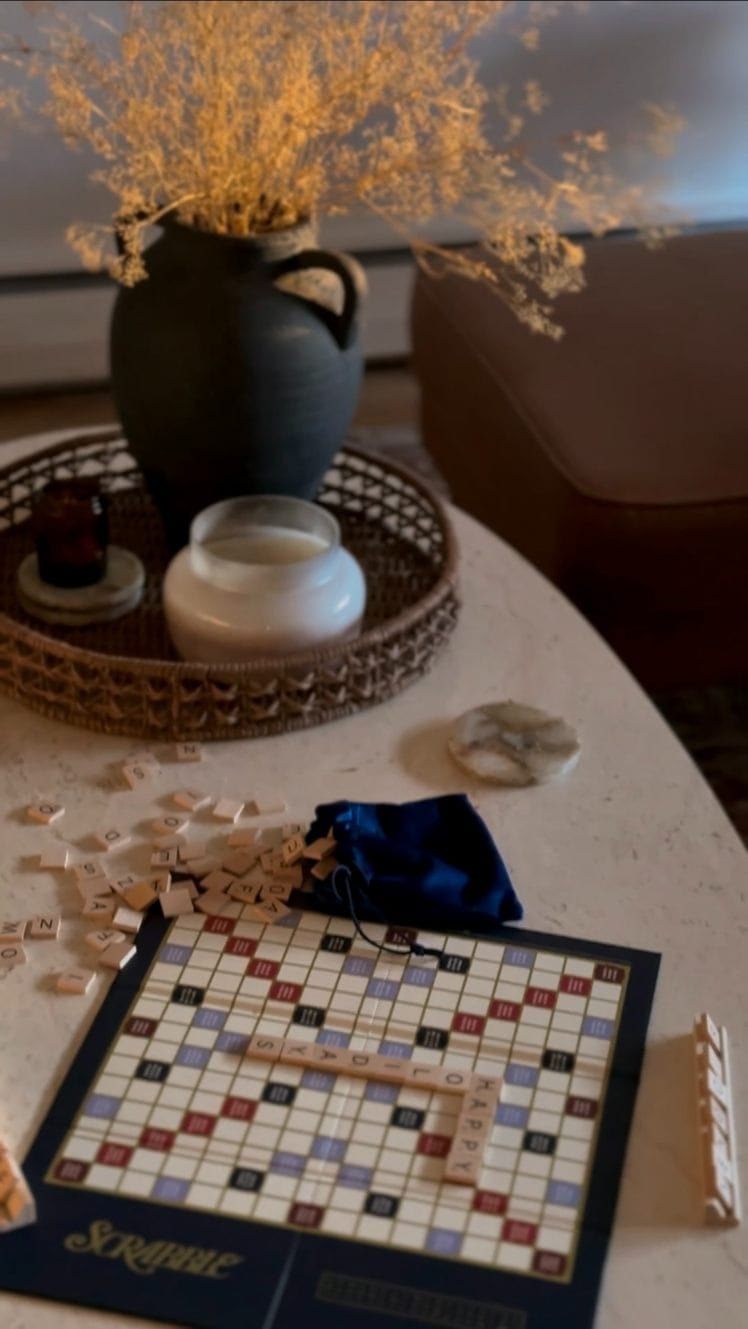
I envisioned a cozy place to curl up and read a book or play boardgames with friends and I think that’s exactly the vibe this room has now.
DIY TUTORIALS
- Antique Brass Door Knobs
- Faux Limewash (Coming Soon)
- Brass Statue (Coming Soon)
- Cloche Nature-scape (Coming Soon)
Watch the process
You can watch the entire DIY renovation project, from start to finish, in my Instagram highlights.
Click below to see all the behind the scenes footage, in depth tutorials and every little detail of this transformation!


GALLERY
Design Details

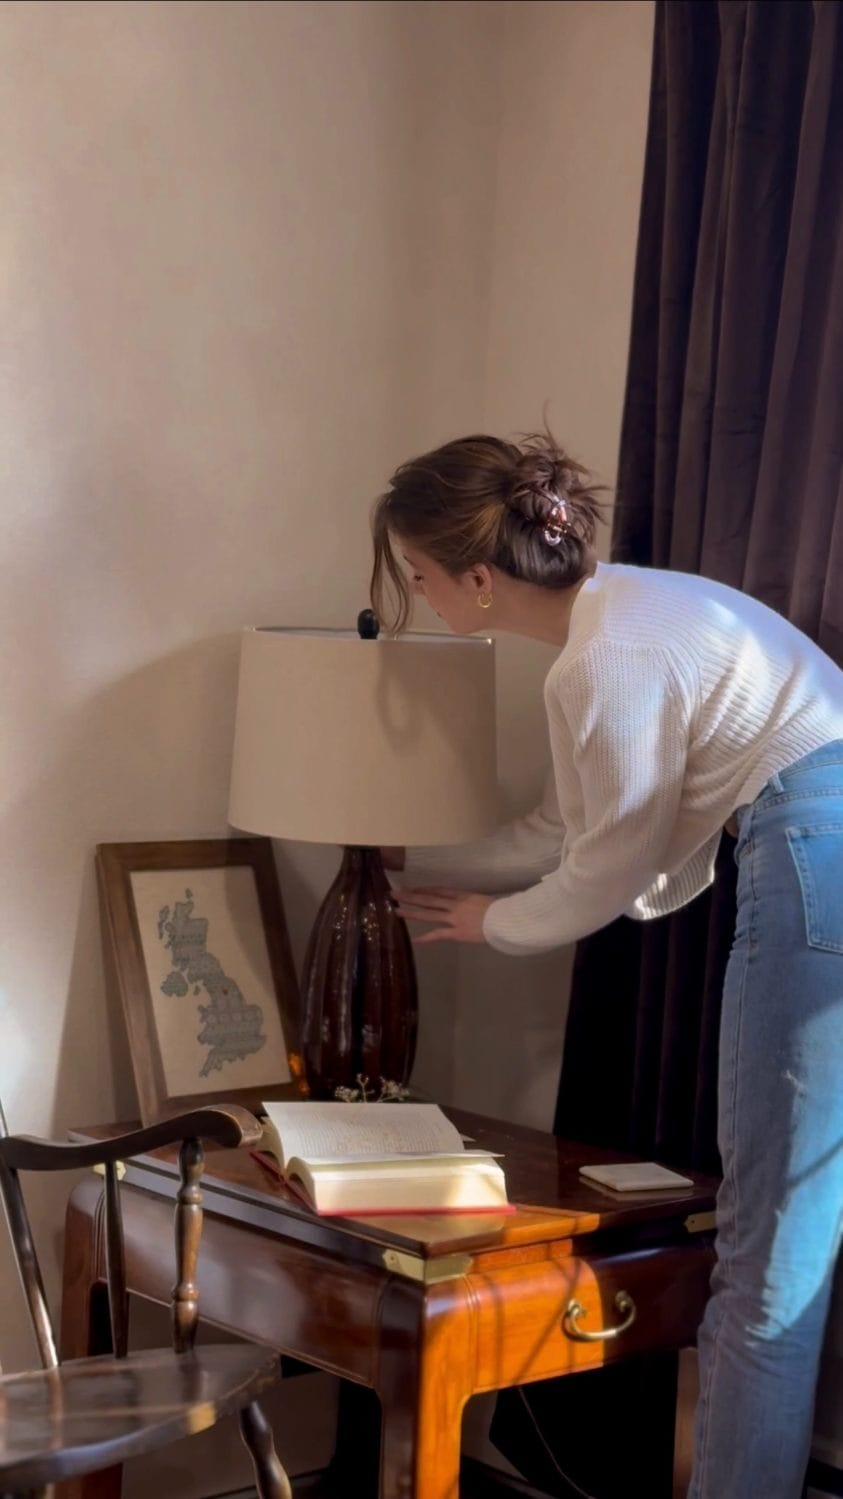
Often overlooked, but oh so important.
Because it's the details that truly make the difference
The walls were finished using a DIY faux limewash technique. Click here (Coming Soon) for more details.
The ceiling was finished using a DIY faux limewash technique. Click here (Coming Soon) for more details.
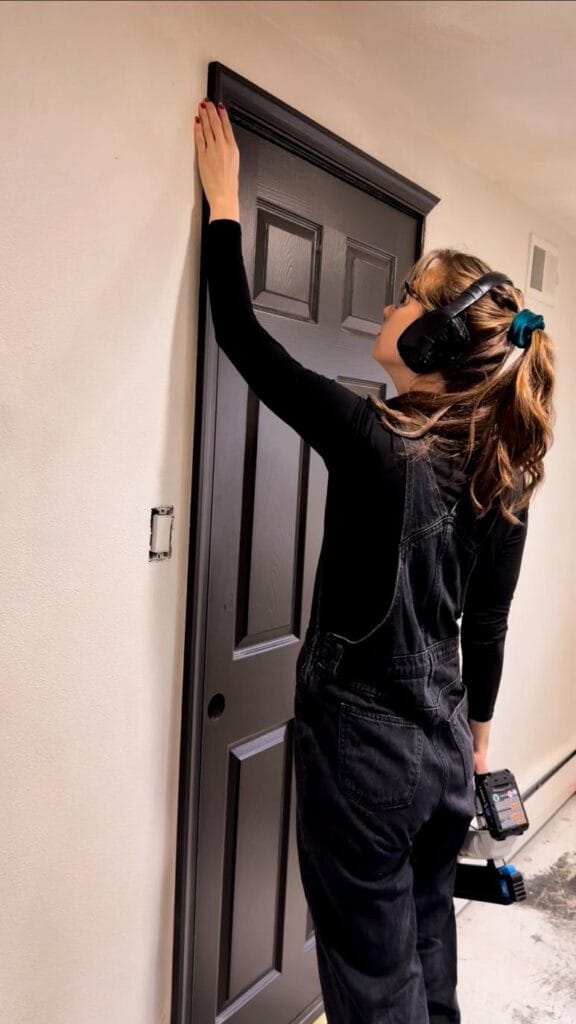
All the doors and trim in the room were painted in my favorite shade of black: Black Mocha by Behr in an eggshell finish to create contrast against the limewashed walls.
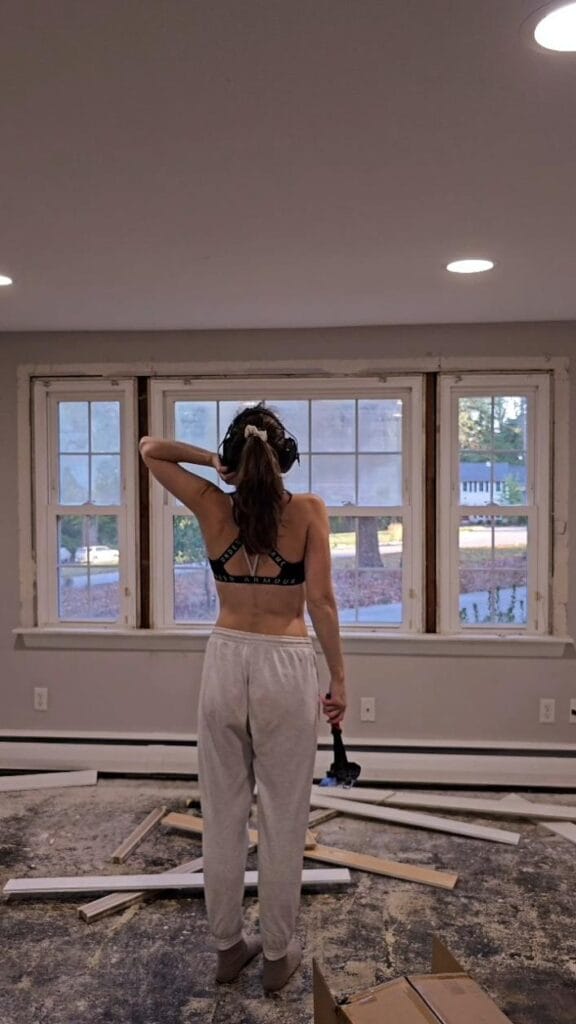
The one exception was the large window next to the shelf because I wanted it to blend into the wall. This was painted in Smoky White by Behr in an eggshell finish.
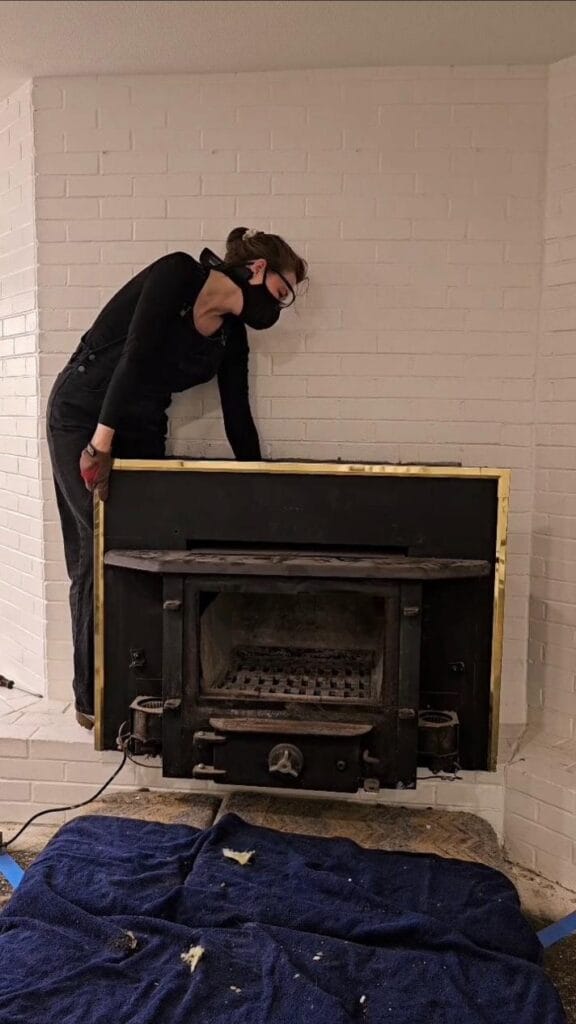
The brickwork was painted in Black Mocha by Behr in an eggshell finish, creating a sense of continuity as the brick flows into my moody entryway.
I really struggled to find the perfect, antique brass door hardware for the family room because I wanted a very specific style but I also needed them to be budget friendly. I ended up customizing some affordable options. This was a super easy DIY! You can find the full tutorial here.
If you would rather purchase ready to go door hardware I linked some of my top contenders here.
Since my walls were limewashed, I didn’t want my outlets to stand out like sore thumbs and your average white outlet would have done just that! So I purchased some $2 paintable outlet covers. These go right over the top o your existing outlets, no electrical work or fancy tools necessary. Once they’re installed you can paint right over the top of them so that they match your wall perfectly! So yes, my outlets are limewashed because details.
SHOP THE SPACE
I labored over the design decisions in this space for months but luckily for you all the hard work has been done! I linked everything I used to style my family room in the below. If the item couldn’t be linked I did my best to find some similar options for you. I hope it helps!
Disclaimer: Affiliate Links
If you purchase an item using my links, I will receive a tiny commission at no additional cost to you. Win/Win!
Whilst small, these commissions help me to continue working on my projects & creating more fun content for you to enjoy, so thank you for using them!
Happy Shopping!
Stacey
@Dawn.of.a.daydream
Hi, Stacey here!
Don’t be shy, join the discussion and lmk what you think of this space 🙂
Love your website so much!
If you have any questions about the space or want to see a specific tutorial, let me know! I would love to hear!
where did you get that shelf from? I want to add one of those in my living room!