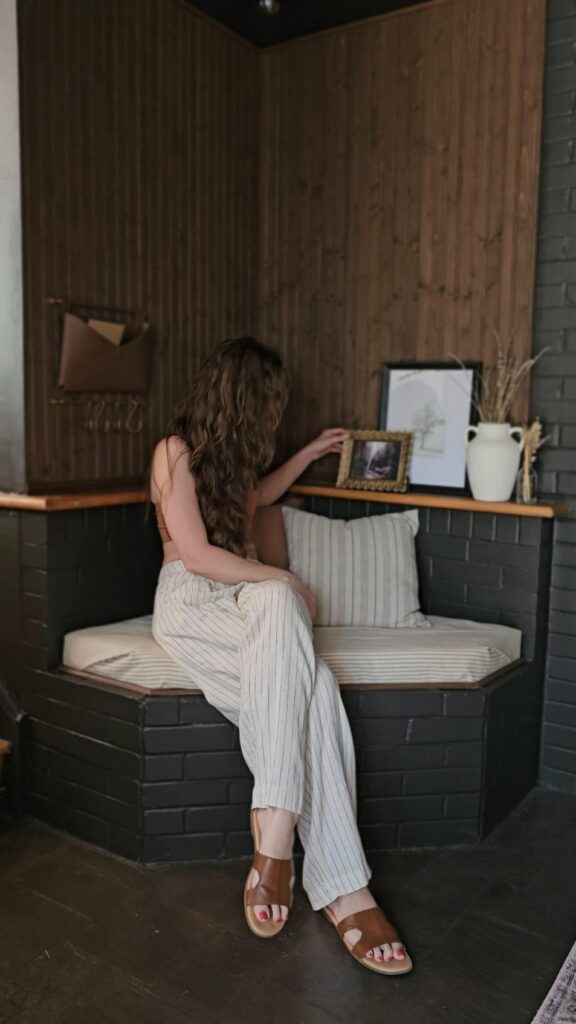

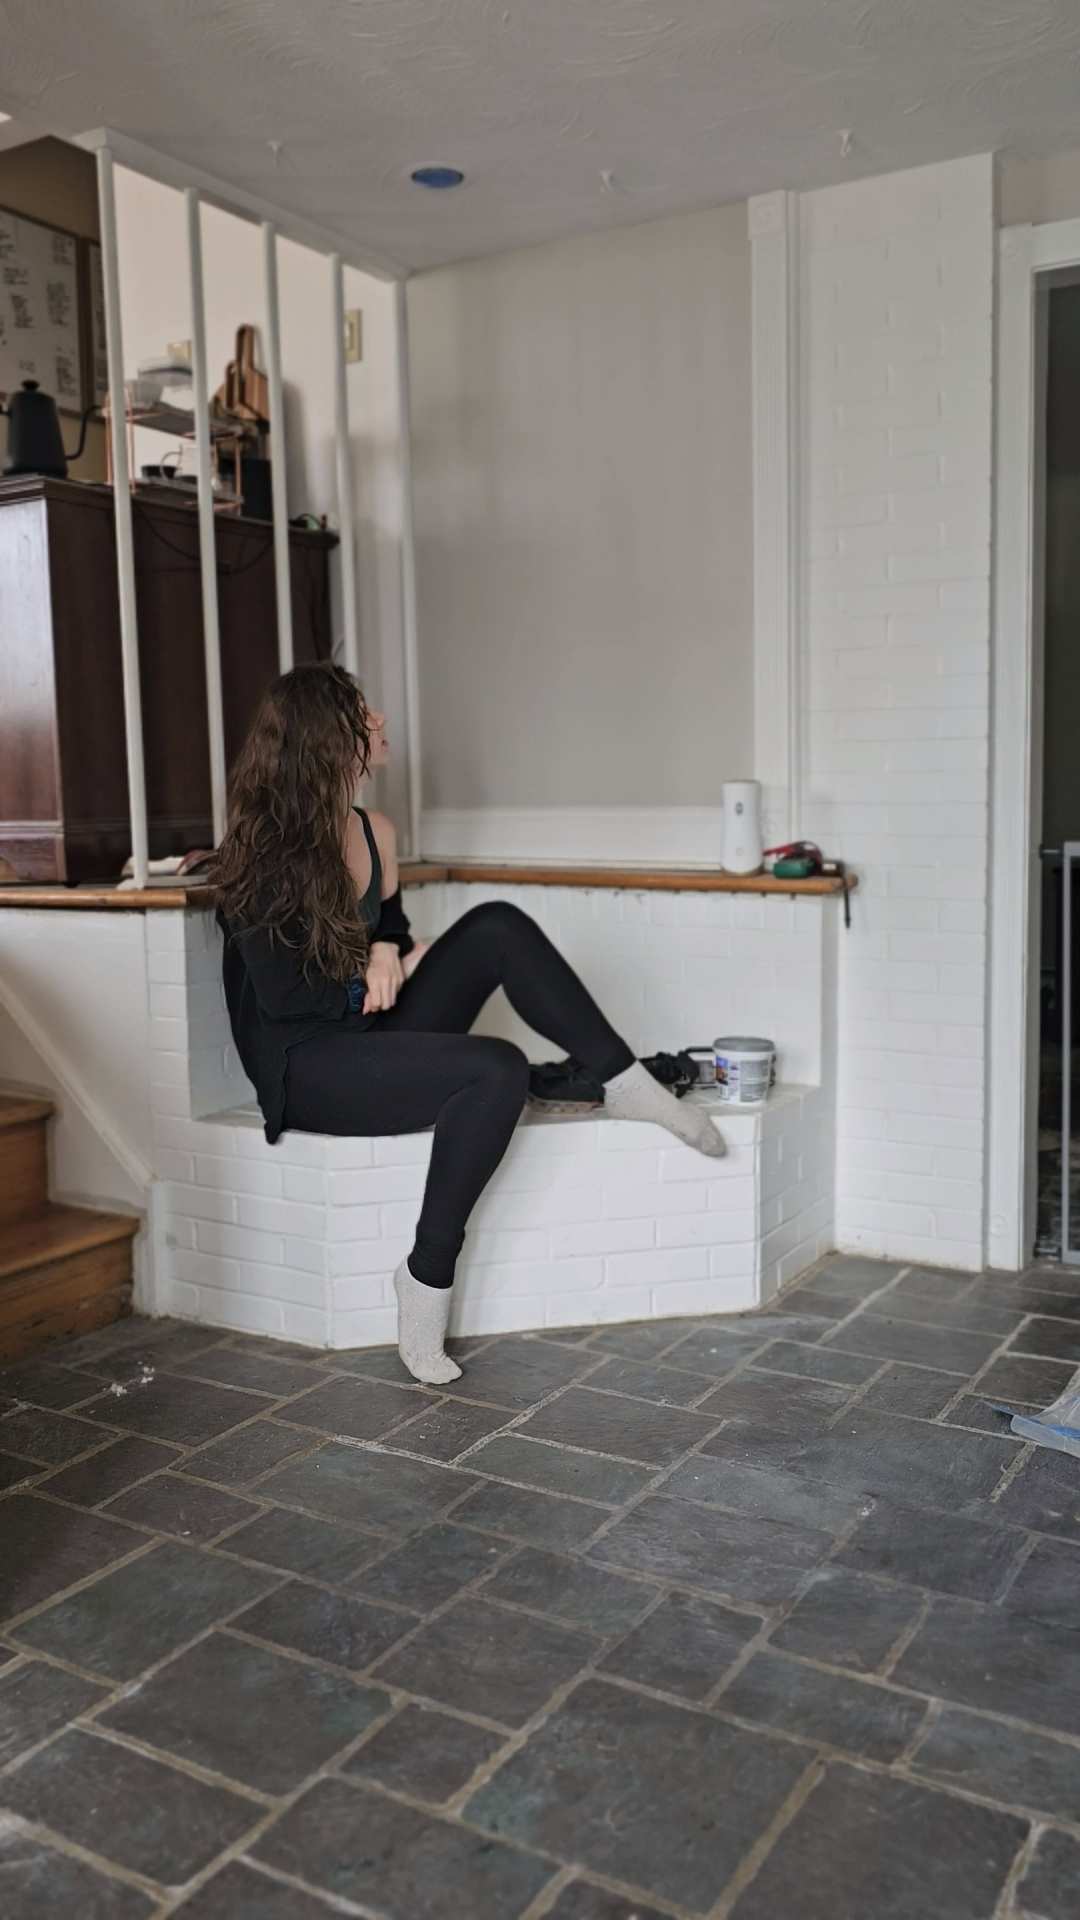
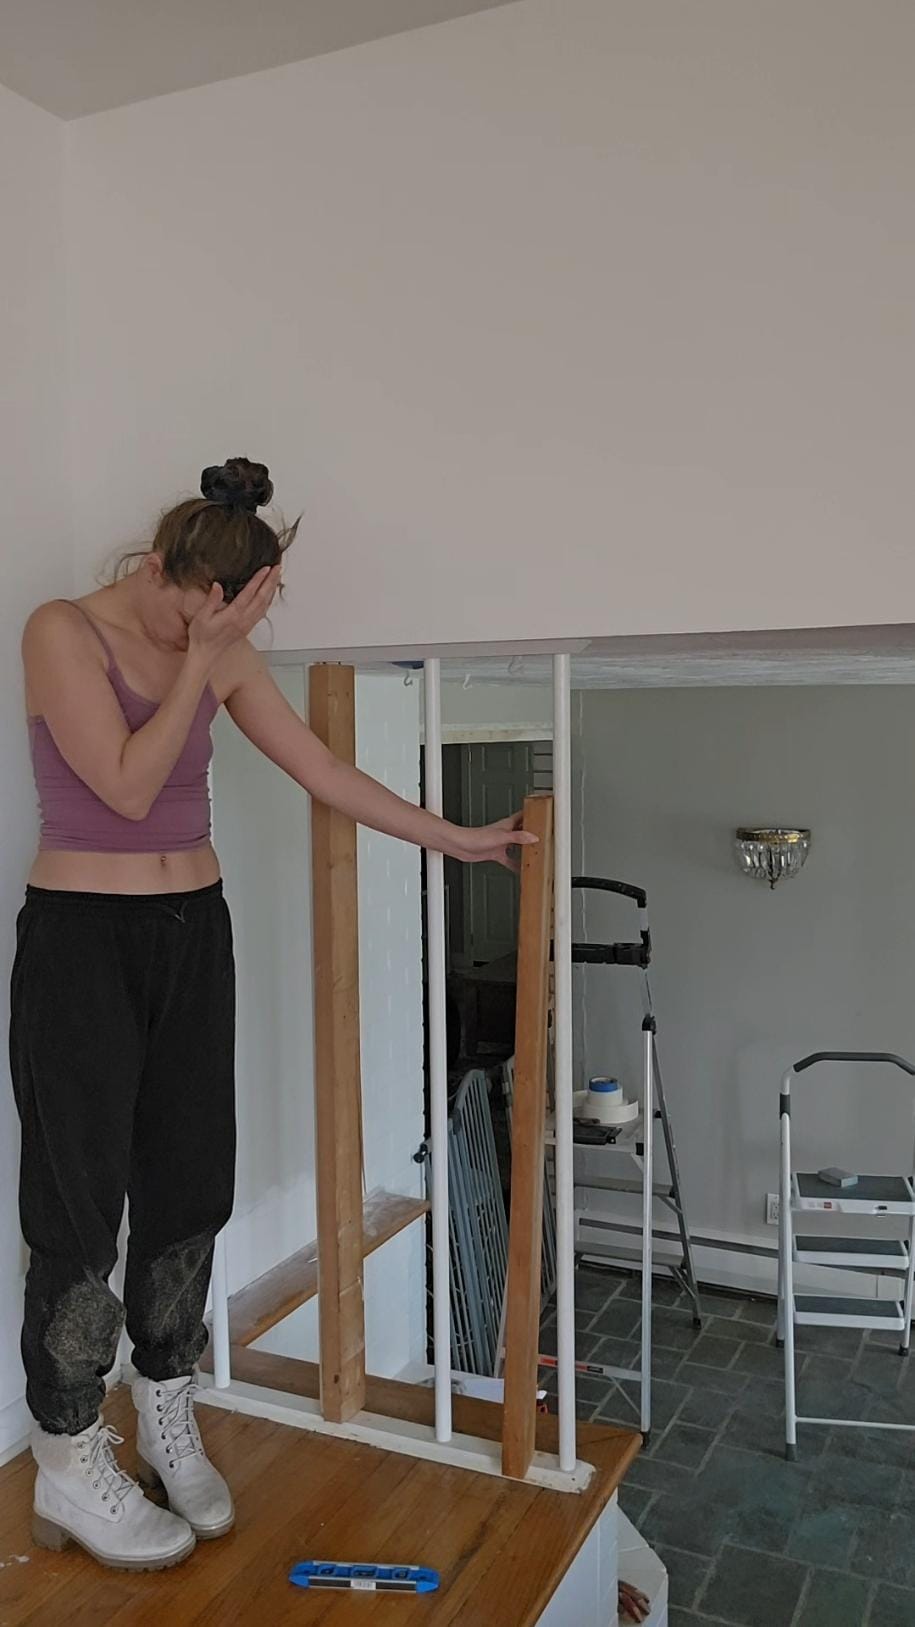
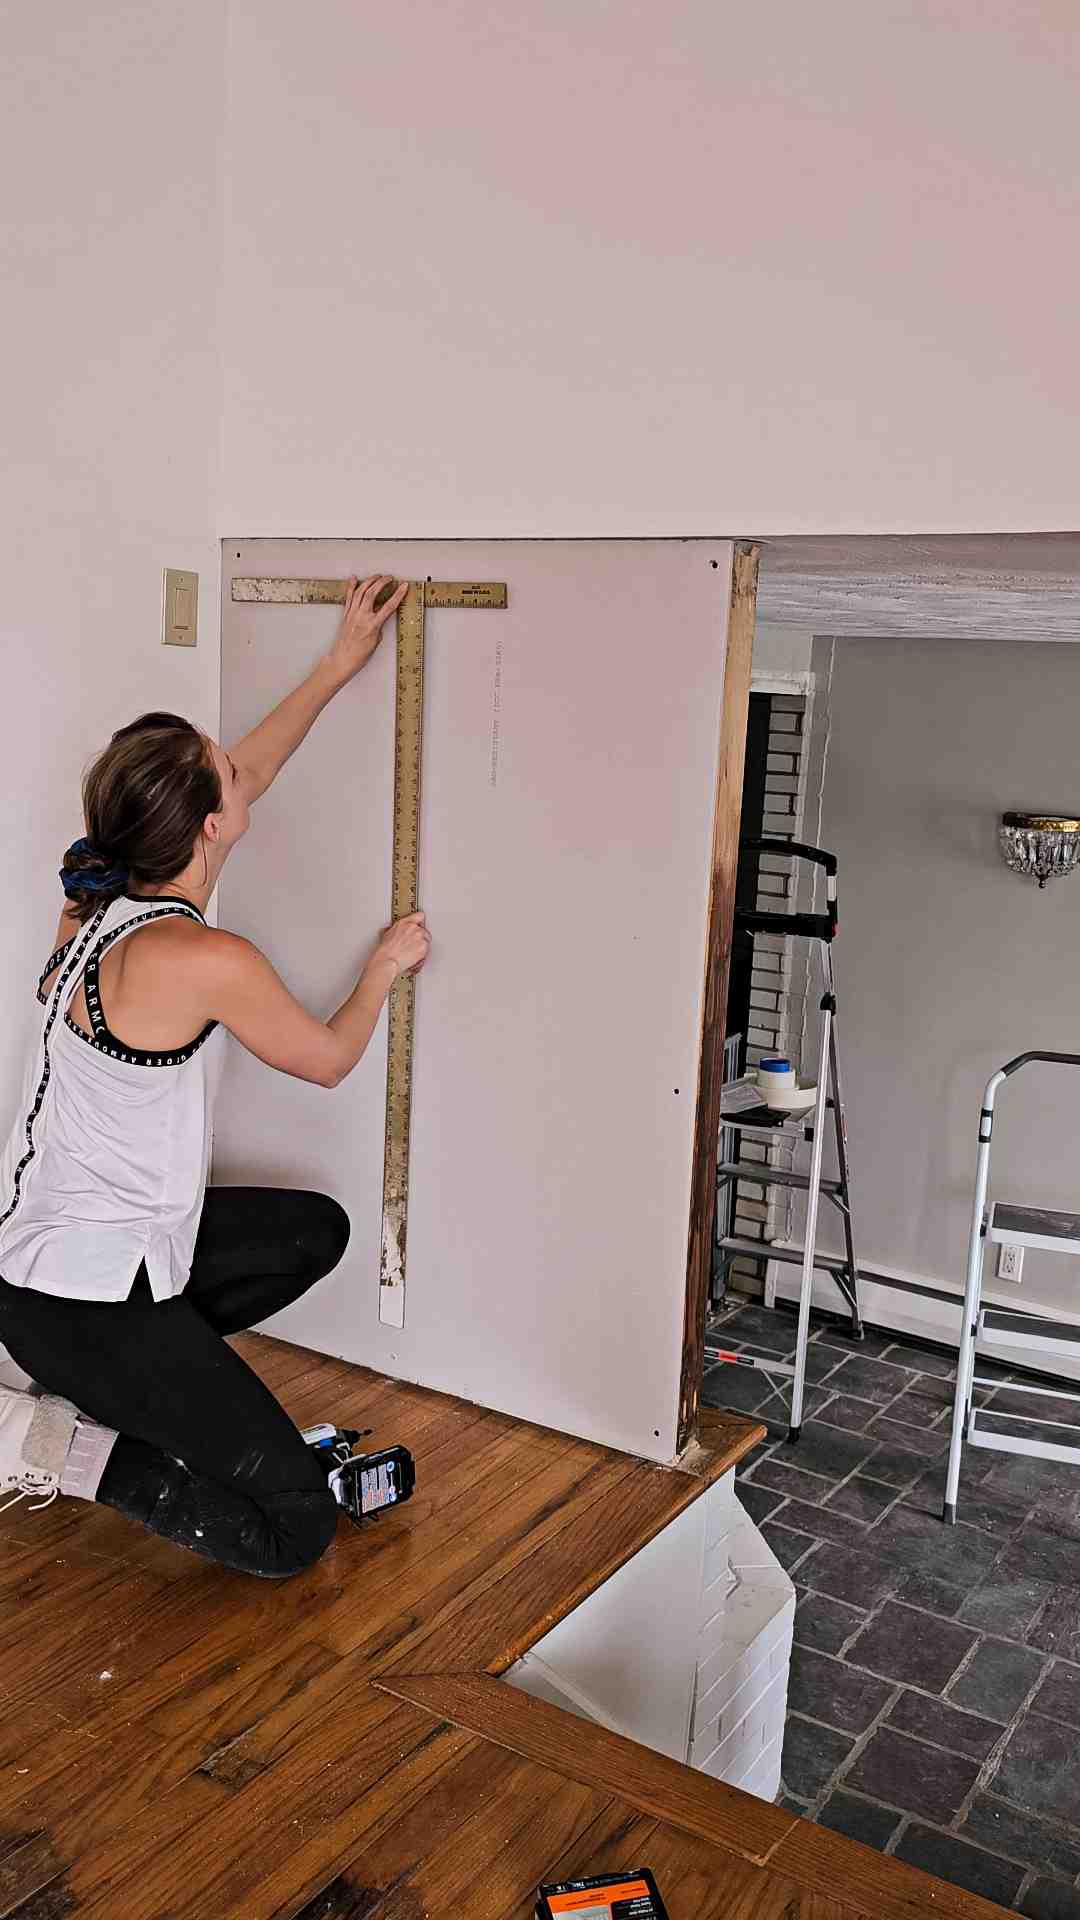
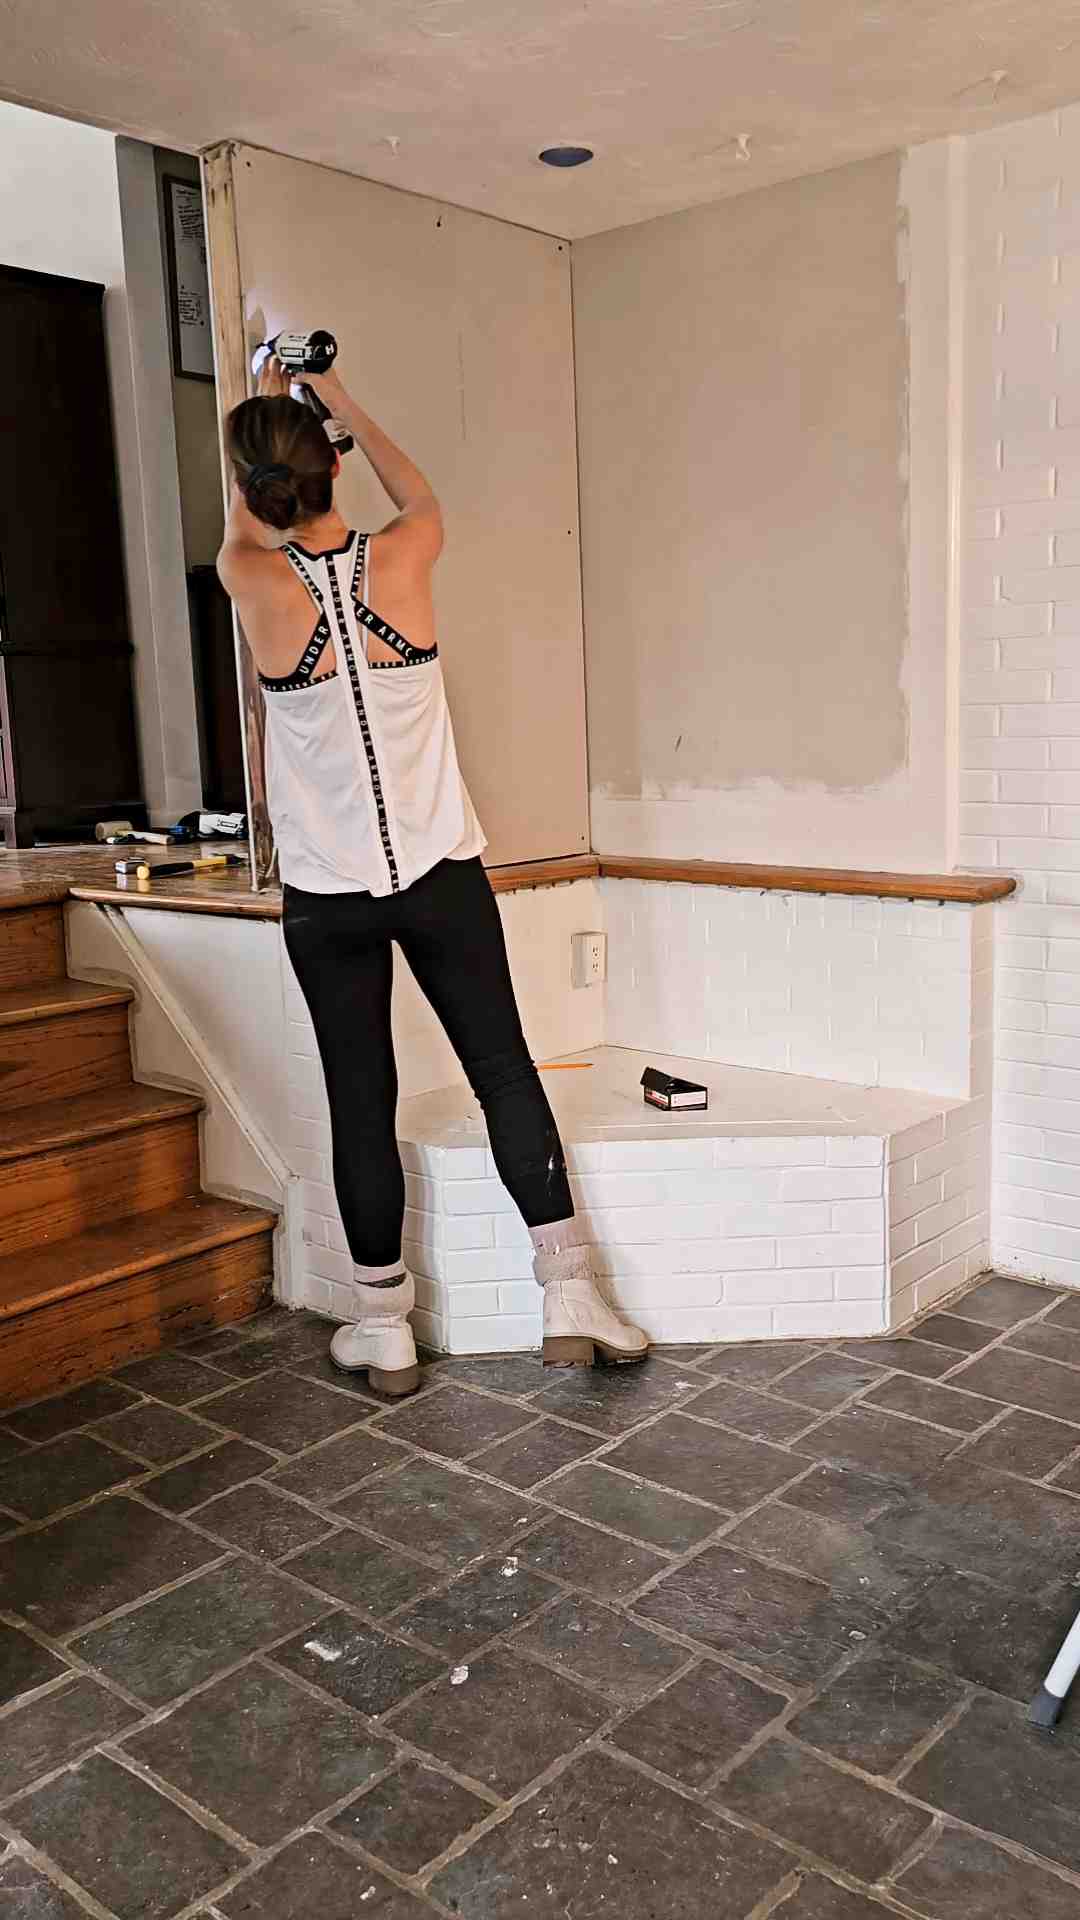
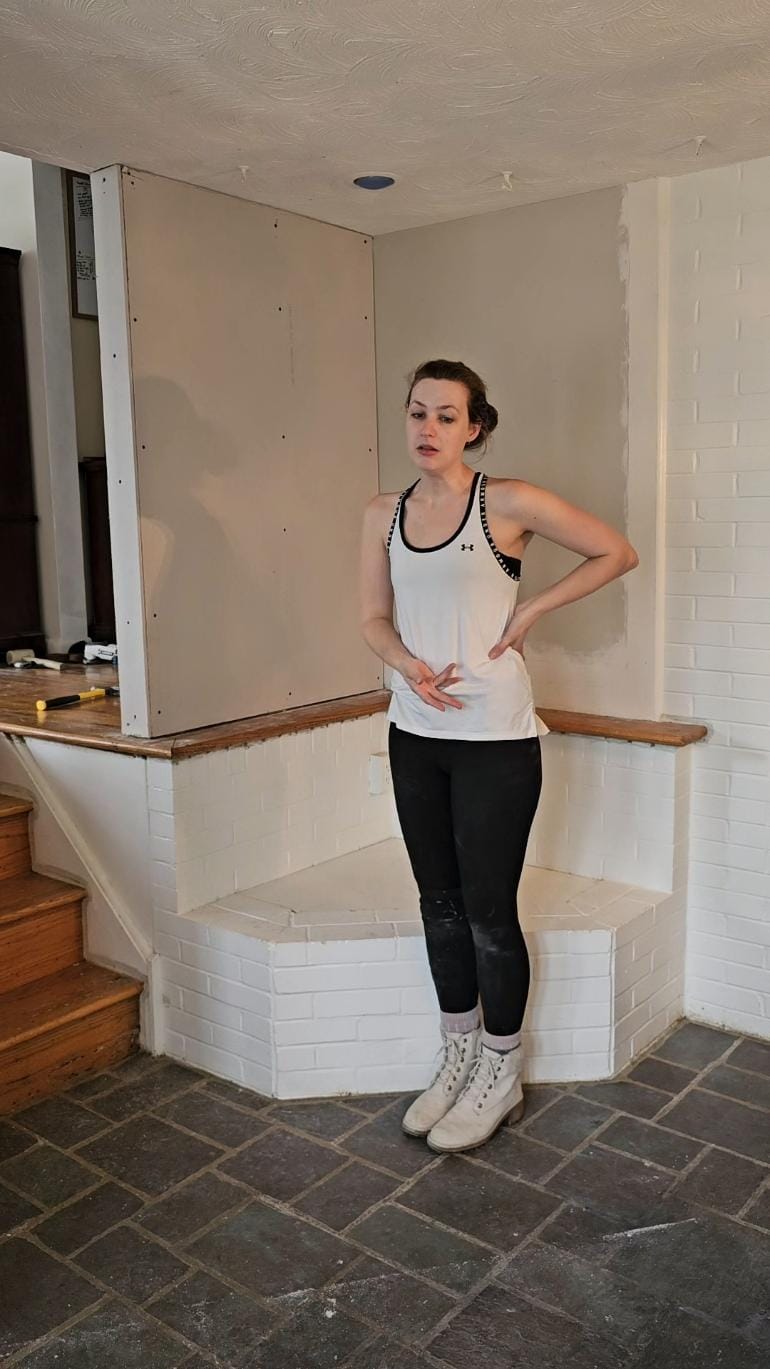
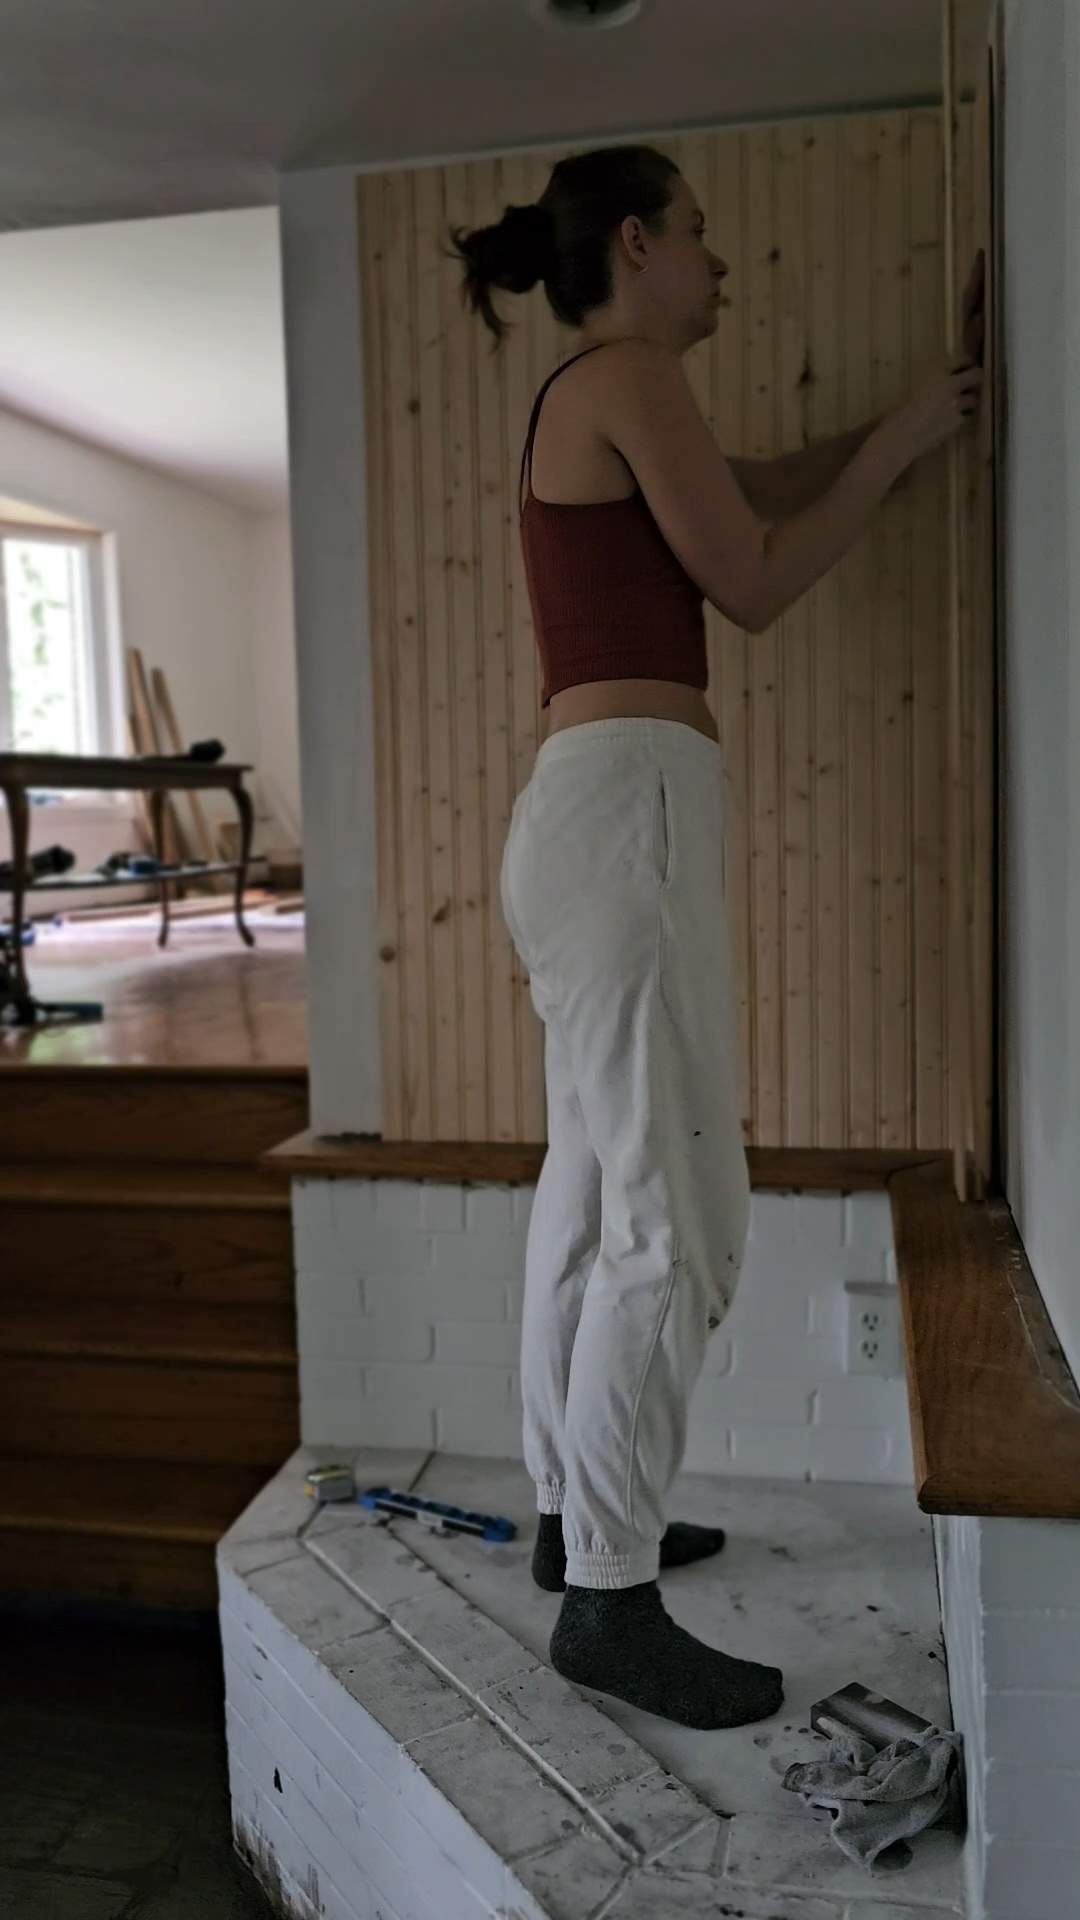
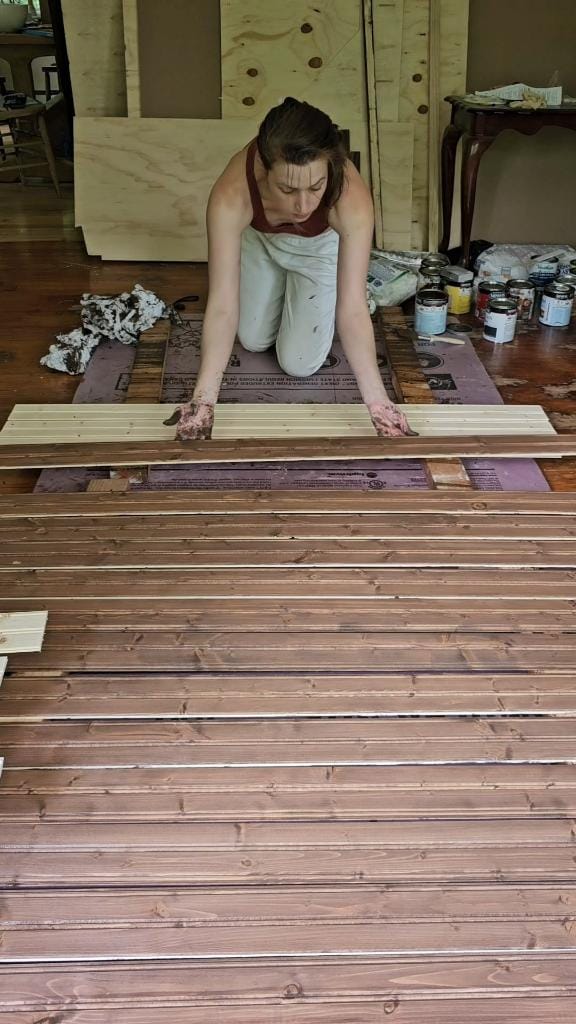
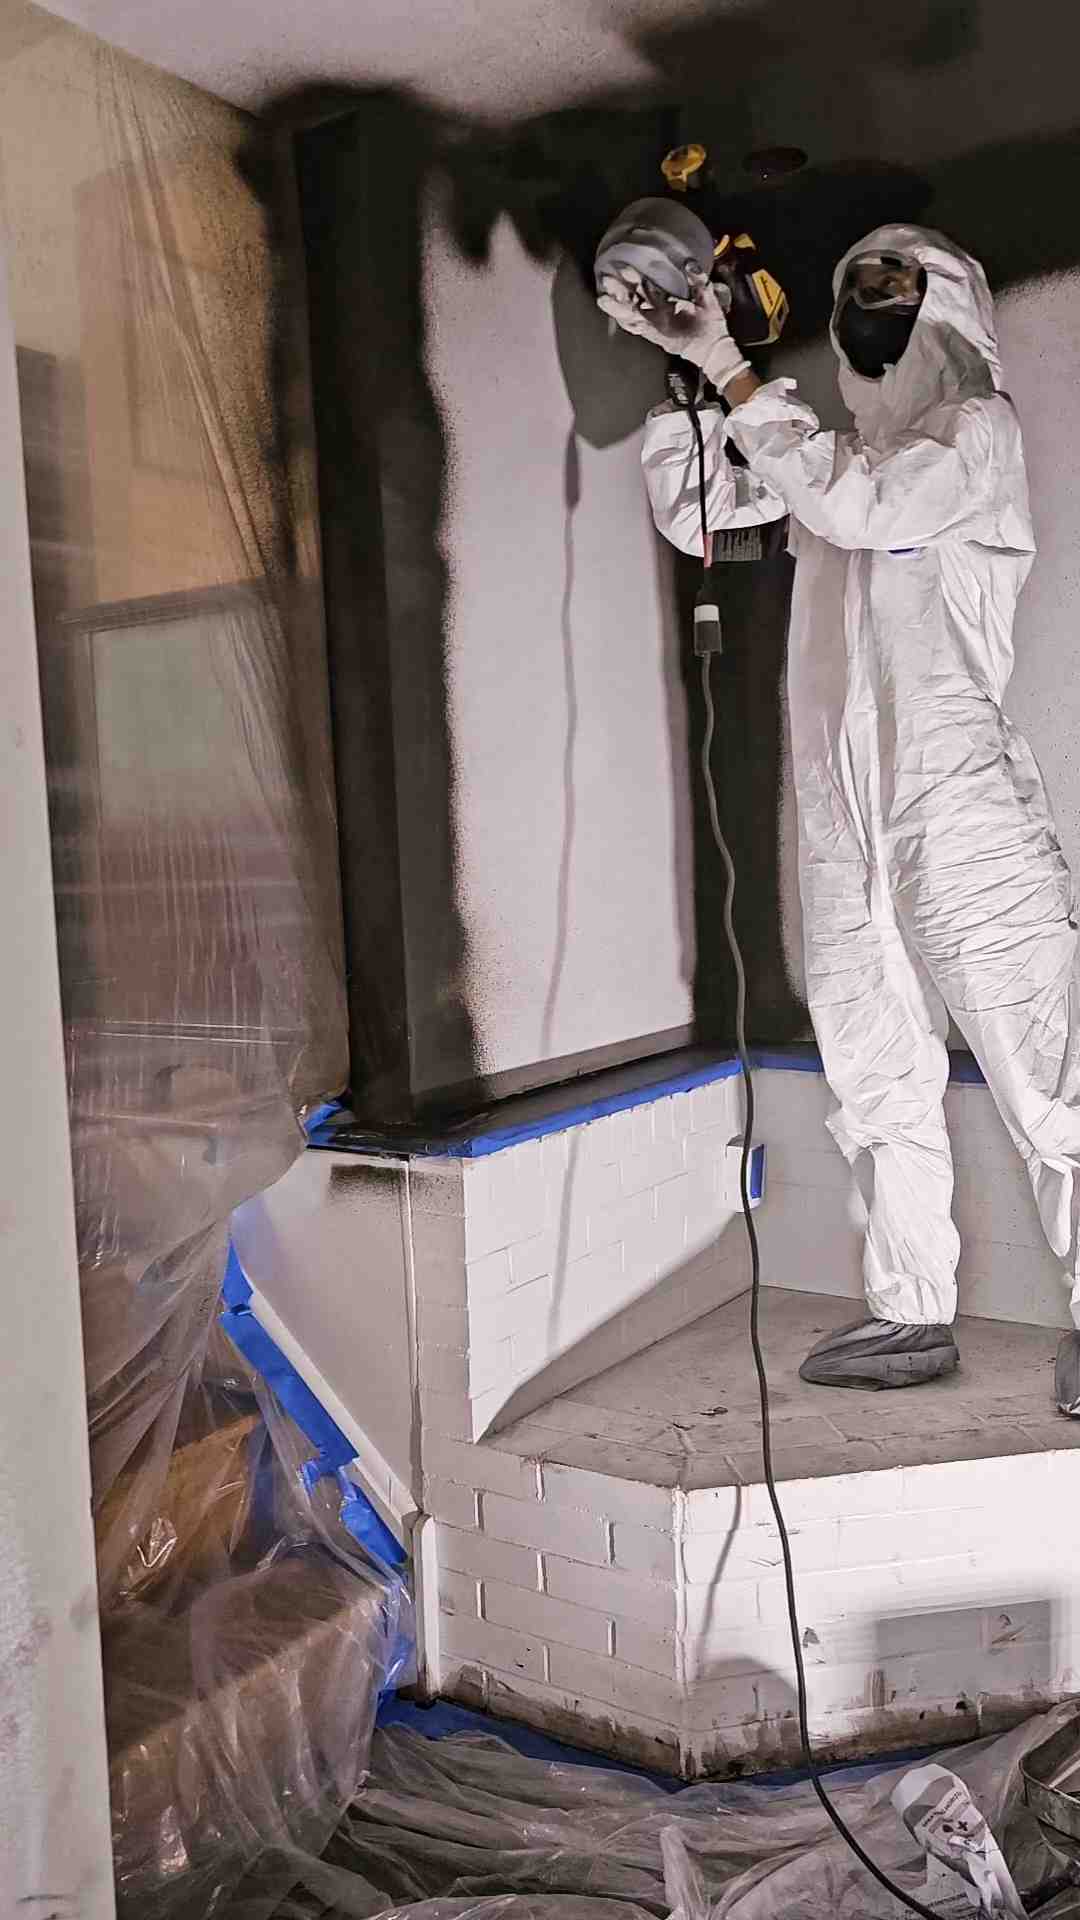
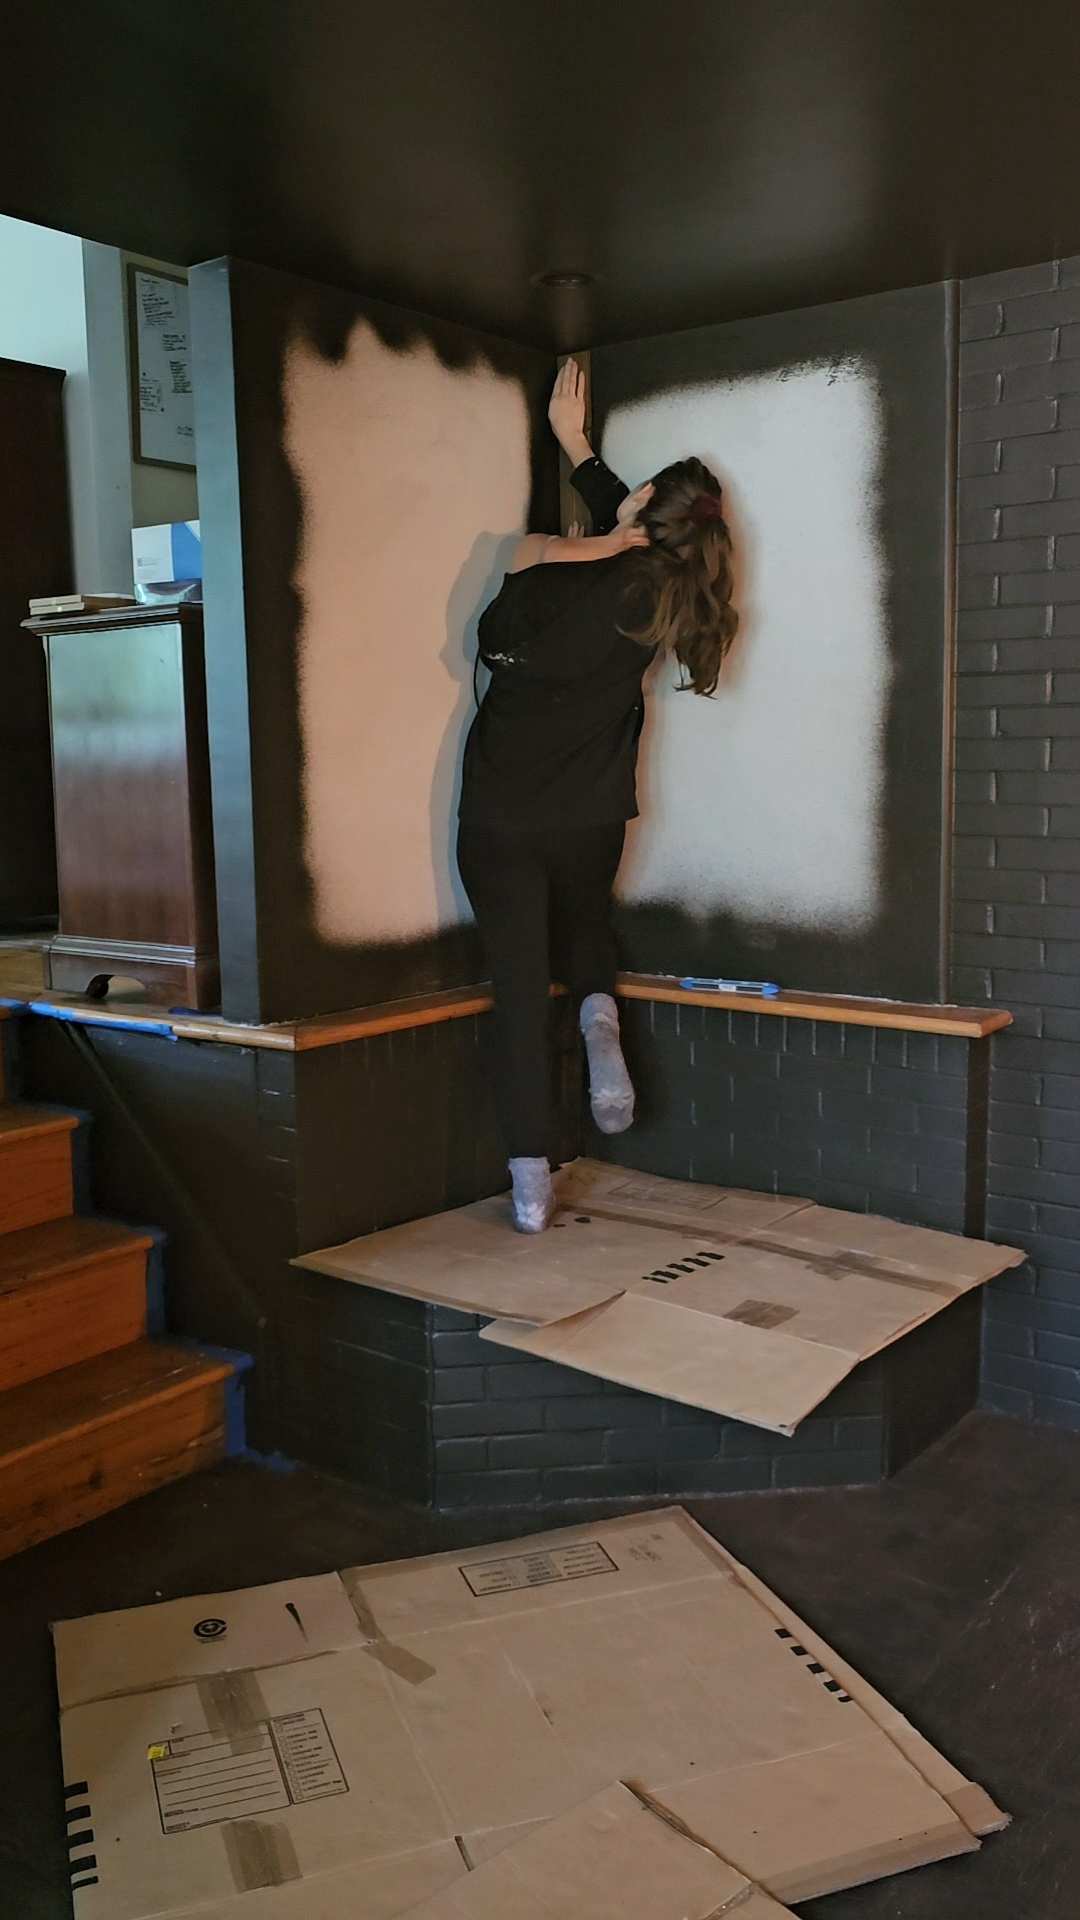


✨ You’re more capable than you think. ✨ All of these projects were started from a place of nerves, not…

Can’t afford to splash hundreds on a fountain? Me either… so I made one! ⛲️ It’s honestly easier than it…

Can’t afford to splash hundreds on a fountain? Me either… so I made one! ⛲️ It’s honestly easier than it…

If your white bedding’s feeling a little blah, this one’s for you. A few simple swaps and suddenly it feels…

If your white bedding’s feeling a little blah, this one’s for you. A few simple swaps and suddenly it feels…

10ft of drainage for $0? Challenge accepted! 💪✨ What started as a viral rain chain turned into a DIY dry…
- All Posts
- Dining Room
- DIY Comfort Club
- DIY Projects
- Entryway
- Family Room
- Furniture Flips
- Garden Beds
- General
- Guest Bedroom
- Home Exterior
- Outdoor Projects
- Pool Area
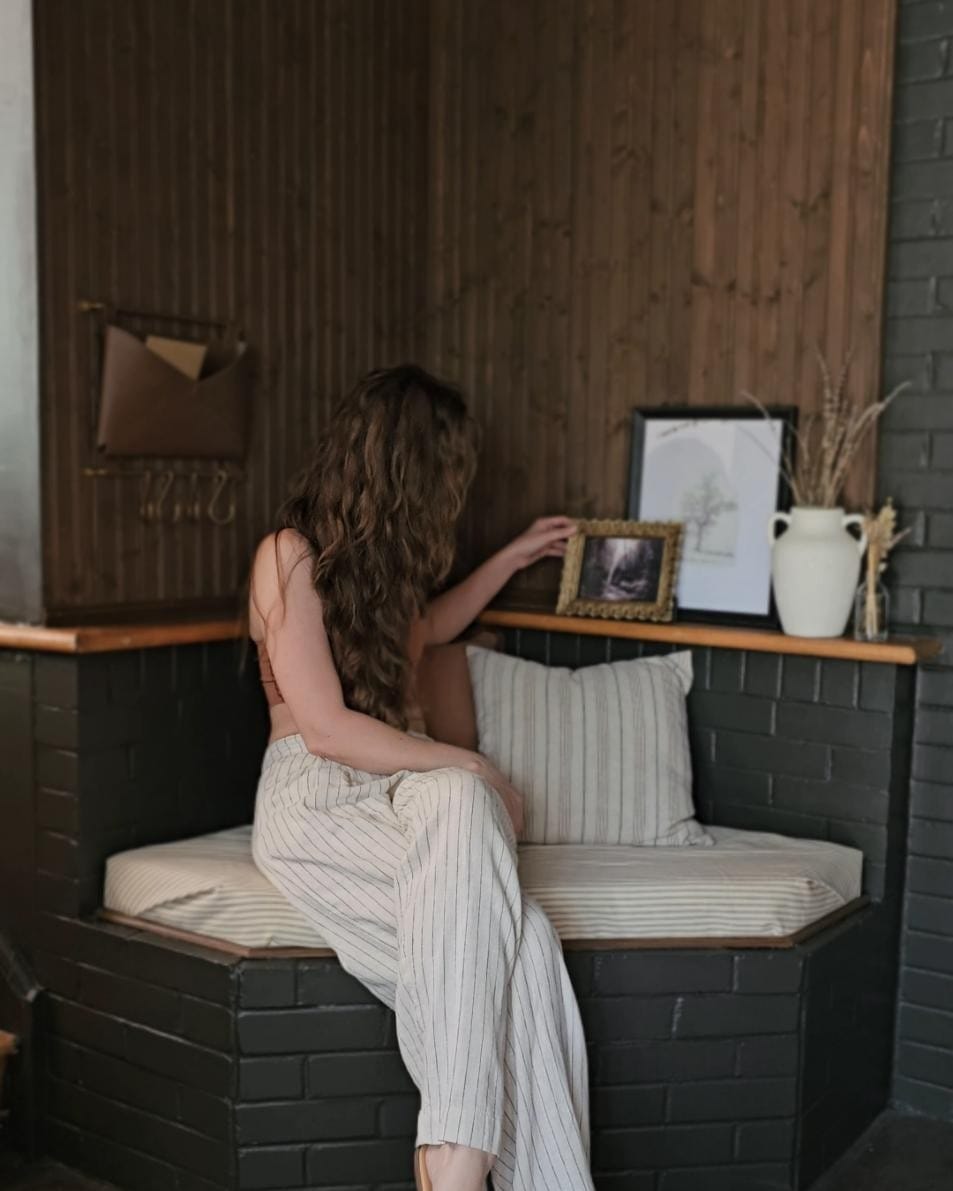
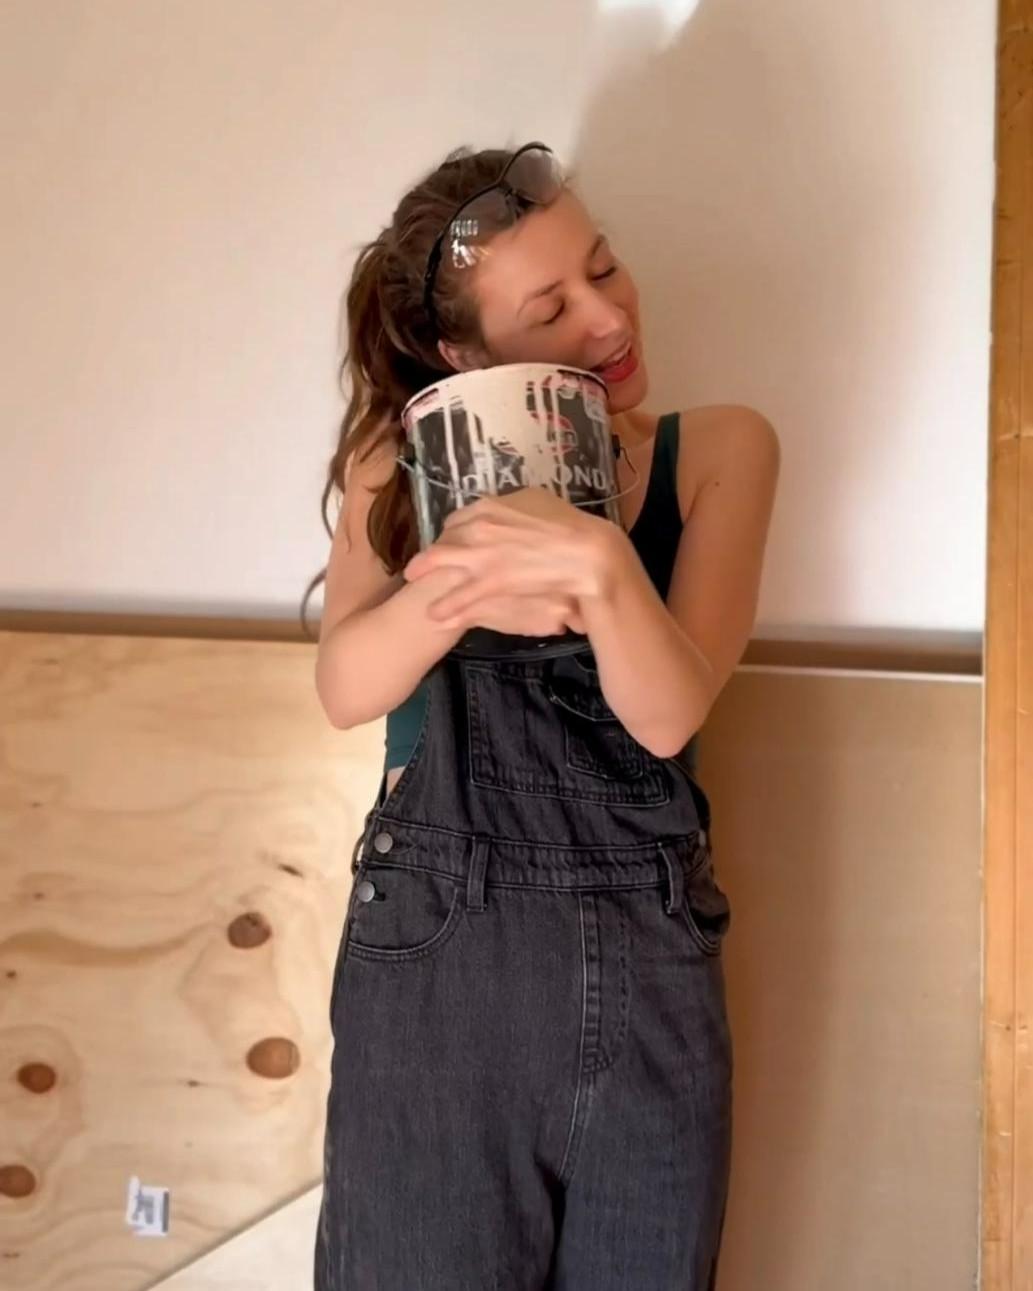


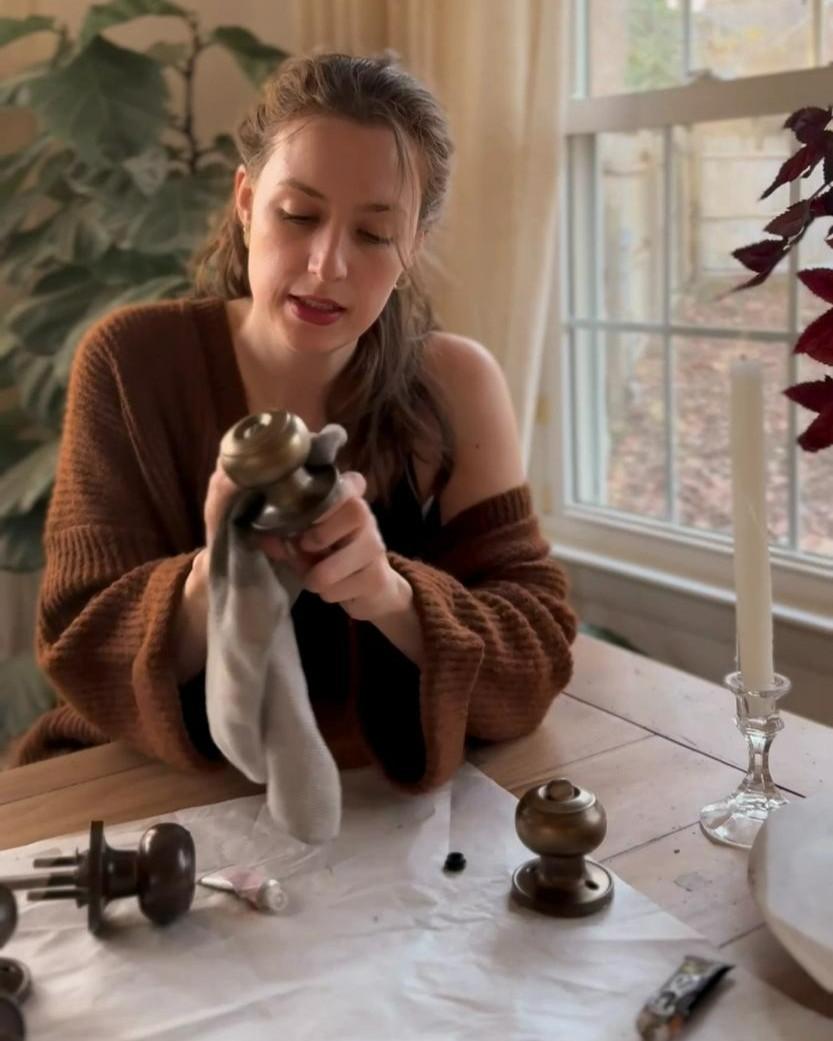

✨ You’re more capable than you think. ✨ All of these projects were started from a place of nerves, not…

Can’t afford to splash hundreds on a fountain? Me either… so I made one! ⛲️ It’s honestly easier than it…

Can’t afford to splash hundreds on a fountain? Me either… so I made one! ⛲️ It’s honestly easier than it…
- All Posts
- Dining Room
- DIY Comfort Club
- DIY Projects
- Entryway
- Family Room
- Furniture Flips
- Garden Beds
- General
- Guest Bedroom
- Home Exterior
- Outdoor Projects
- Pool Area